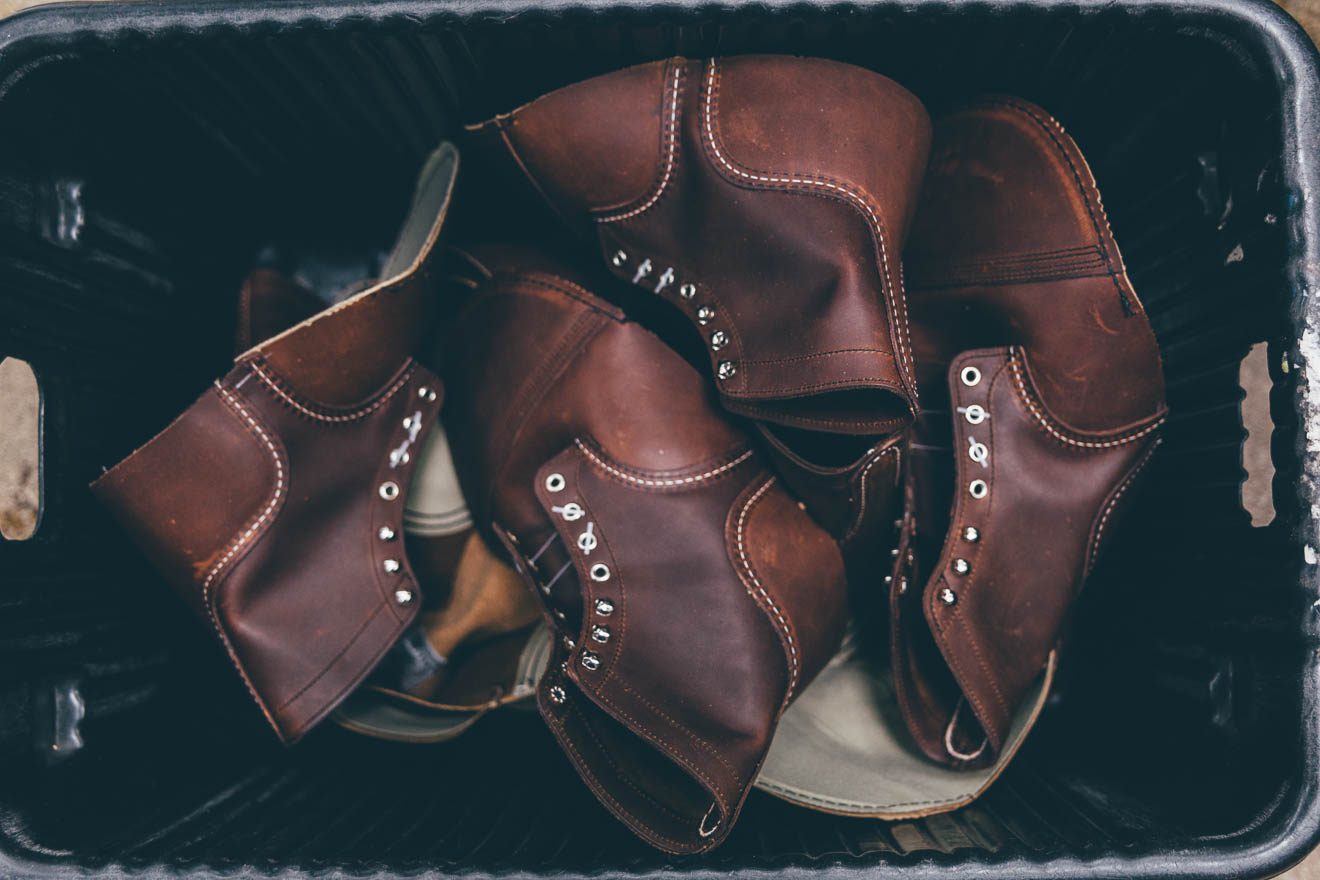
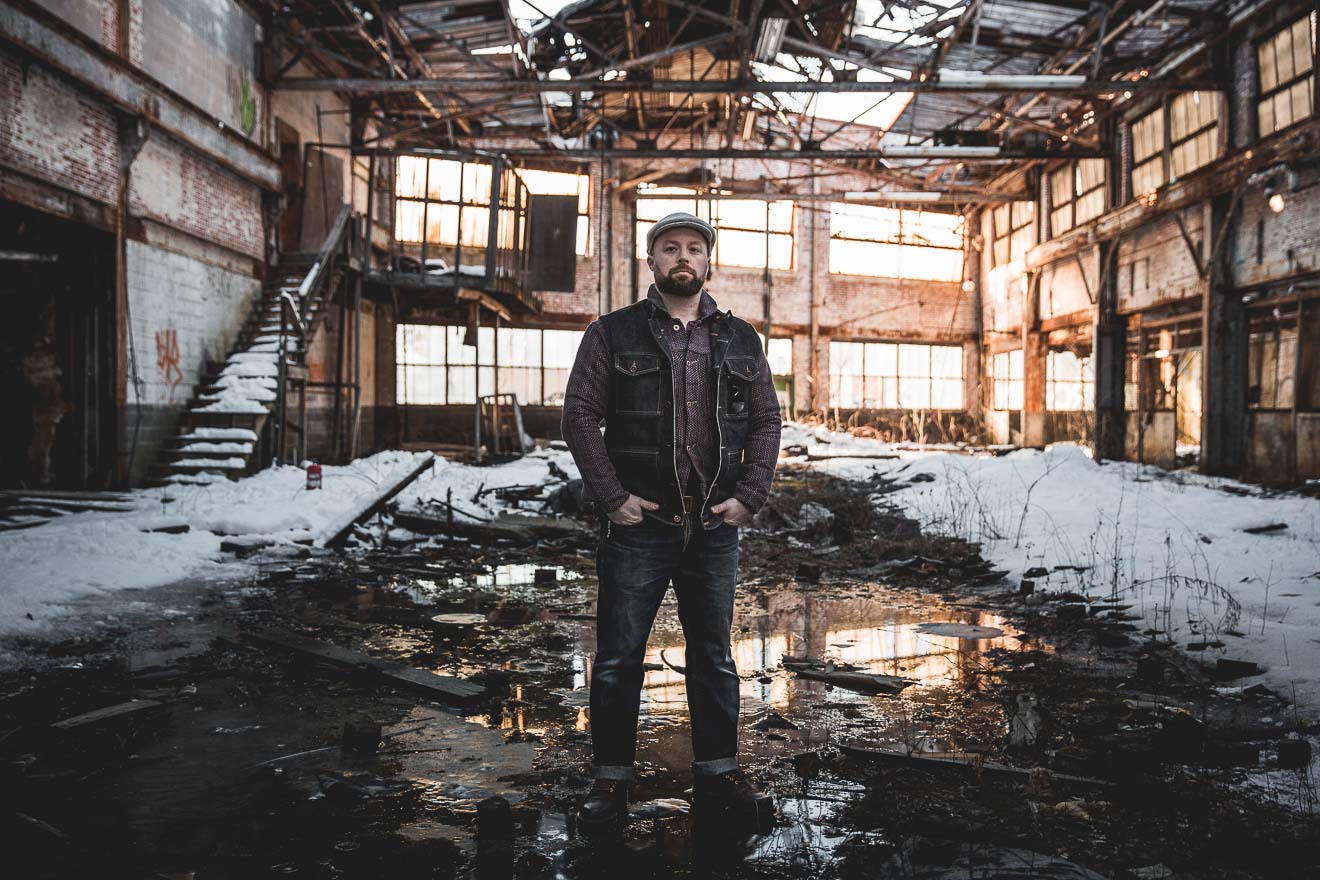
This post is sponsored by Red Wing Heritage Europe.
The 4 Stages of Making Leather and Popular Leather Terms Explained
Some things are just better together: gin and tonic; cookies and milk; Batman and Robin; and, of course, raw denim jeans and leather boots.
If you’re into denim, chances are you also have a thing for leather boots. And, if you’re into leather boots, you probably have an opinion about Red Wing Shoes. Maybe you’re one of the more than 400k Instagrammers who’re following the heritage division of the American bootmaker?
I’ve been a Red Wing fan and wearer for almost as long as I’ve been into raw denim. I first learned about the brand back in 2008, I think it was. Today, I have some 10-11 pairs—which is a small collection compared what you’ll find some Instagrammers have.
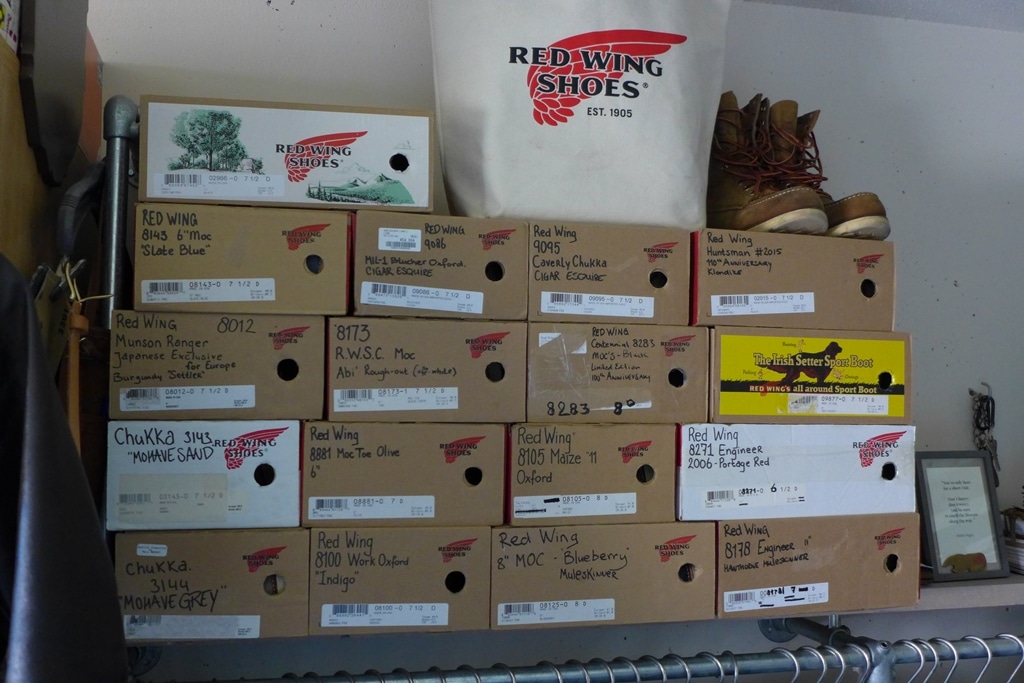
The thing about Red Wing that turns customers into raving fans is that—like a good pair of (raw denim) jeans—you get a lot of history; a quality product you can depend on; an investment that evolves as you wear it.
It all starts with the leather and how that’s made. And that’s the topic of this blog post; how leather is made, which is the first in a mini-series about leather and work boots.
Why I wrote this blog post
Making leather is a complex industrial process. Just like making denim, it involves dozens of productions steps, many of them mandatory, and some influence the end-result more than others. This sometimes leads to misconceptions.
Since I’m not a tanner nor a leather expert myself, I’ve enlisted the help of a handful of actual experts to help me write this post.
I focus on the production aspects of leather-making that most directly impact the characteristics of leather that ends up as work boots. The post also explains commonly used (and sometimes misunderstood) terms such as ‘vegetable tanning,’ ‘aniline dye’ and ‘full grain.’
What is Leather?
Leather is skin from animals that’s been preserved to prevent it from deteriorating. It’s the production processes that determine the look and feel of the leather, as well as how it will develop with wear, which is called ‘patina.’
It’s a natural product, and it’s one of man’s earliest and most useful discoveries. For thousands of years, we’ve used leather to protect ourselves from the elements, for tools and weapons, and for furniture and seating.
Historically, leather has been used to protect humans,” says Amtraq Distribution’s Uwe Maier, who grew up a third-generation tanner and leather garment manufacturer in Germany.
Leather has always been a by-product. Animals have been hunted and raised for food and wool, not primarily for their skin. And, historically, leather has been produced in a relatively close proximity to where it would be used.
“Every country had its own leather industry. It was unthinkable to bring leather around the world because it was too cheap,” Uwe argues. Only when transportation became cheap enough did leather spread across borders and oceans.
Like Dave Hill, retired Director of Product Development at Red Wing Heritage, says in this excellent video Cool Hunting produced in 2014, “some people have referred to us as recyclers because if you didn’t have tanneries what would you do with all those hides?”
Today, it’s estimated that roughly half of all leather produced is used for footwear.
How Leather Is Made
Making leather is a process known as ‘tanning.’ It alters the protein structure of the animal skin to make it more durable and less susceptible to decomposition. This is done with agents of animal, vegetable, mineral or synthetic origin.
Early tanning processes included rubbing animal fats into the skins, smoking, drying or tanning with mineral alum.
But, for thousands of years, the most common tanning agent was ‘tannin,’ an acidic chemical compound that’s given the process its name. The tannin is derived from tree barks and leaves that are soaked in water. This is what’s called ‘vegetable tanning,’ which the ancient Greeks are credited with developing.
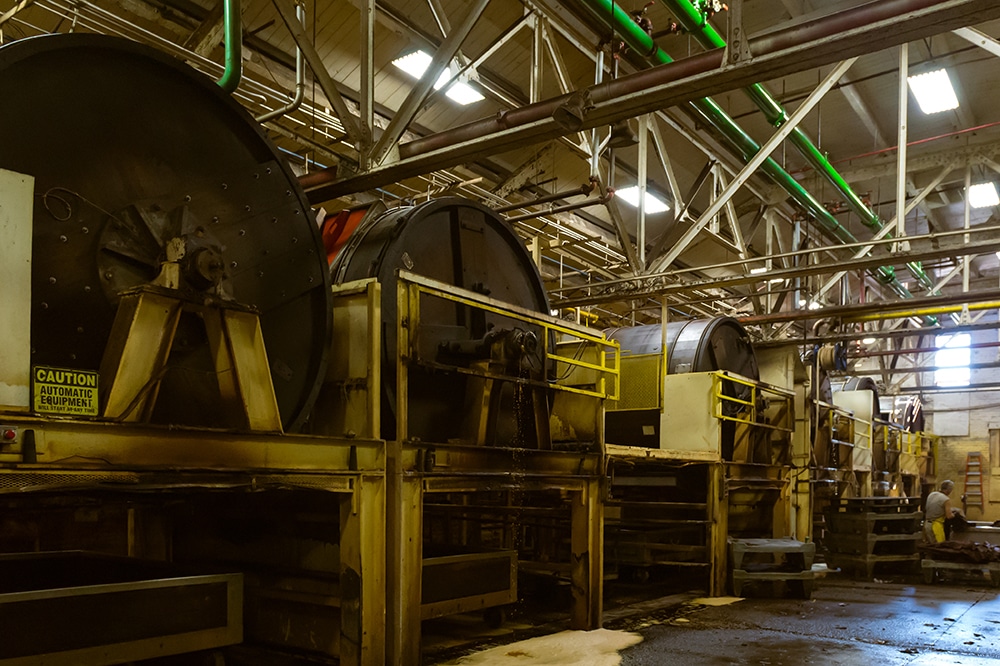
Vegetable tanning is a time-consuming process, and the leather you get from it is relatively stiff. During the Industrial Revolution, the much faster method of tanning with chrome salts was developed, which can also produce softer leathers. Tanners also developed rotating drums, which replaced tanning pits.
These innovations reduced the production time from several months to only a couple of days. And with the greater supply came greater demand. But not all leathers are created equal.
Quality Leather Requires Quality Hides
Tanning is a process similar to that of making wine,” purveyor of high-quality leather jackets, David Himel tells me. “It requires selecting the best raw materials.”
David argues that the best hides come from well-treated and humanely killed animals. “If an animal has had a good life, it will have a healthier skin with fewer blemishes, scars and damages. Poor quality skins are thinner and require correction to hide the damage.”
Leather goods maker, Simon Tuntelder, argues that “the best hides come from bulls—because cows may get pregnant, which makes their skin softer—that graze in areas with low temperatures and no barbed wire because it makes the animal develop thicker skins and minimises blemishes.”
Types of leather used for work boots
Cowhide is the most common type of animal skin used to make leather. Especially for work boots.
Horsehide is also used for some work style boots because it’s durable and doesn’t stretch much. Horsehide was much more common a hundred years ago because, quite logically, there were more horses around (relatively speaking), Uwe explains.
Makers of leather goods like David and Simon regularly visit their suppliers to make sure that they are choosing the best and most ethically sourced hides.
Tanneries in the US, Europe and Japan and are under strict guidelines to meet local and international environmental standards. Objectively speaking, they make the best leathers.
The 4 Stages of Making Leather
The production of leather can be divided into four main stages, which Uwe Maier calls: preparation, tanning, processing, and finishing.
What kind of leather a skin ends up as is determined throughout the entire process, and based on inspections by experts along each stage and step. The processes are labour intensive, which is one reason why genuine leather costs more than synthetic leather.
Please note that the term ‘tanning’ covers both the entire production process of making leather, as well as the second stage where the skin is treated to become leather.
Stage #1: Preparation
The very first step of making leather is to slaughter an animal.
It sounds a bit barbaric when you put it like that, but remember the animal was primarily raised for you to enjoy hamburgers and steaks. So, if you’re cool with that, you should be cool with using the animal’s skin, too.
Once skinned, which is done before the body heat leaves the tissue, the skin is preserved, usually with salt, to avoid degradation in the tissues. The salt penetrates into the fibres quickly and helps remove water.
While S.B. Foot Tanning uses unsalted hides, the hides typically arrive at the tannery covered with salt and complete with fur and flesh still on it. To prepare the hides for tanning, the fur, fat, sinew and undesirable parts are removed through a series of processes.
Since they’re more or less the same for all leathers, and since I’m told they’re quite unpleasant, I’m not going to delve further into them.
Stage #2: Tanning
Tanning is the key stage in making leather. It’s where the animal proteins are turned into a stable material that doesn’t easily break down to preserve its natural beauties and inherent characteristics.
Tanning Method #1: Chrome Tanning
As mentioned already, there are a variety of substances tanners use to tan hides. The most commonly used tanning agent is ‘chromium.’
It’s a 24-hour process that produces a very stable, pliable and durable result. Because it’s the faster and more effective way of tanning, the majority of leather produced worldwide is chrome-tanned.
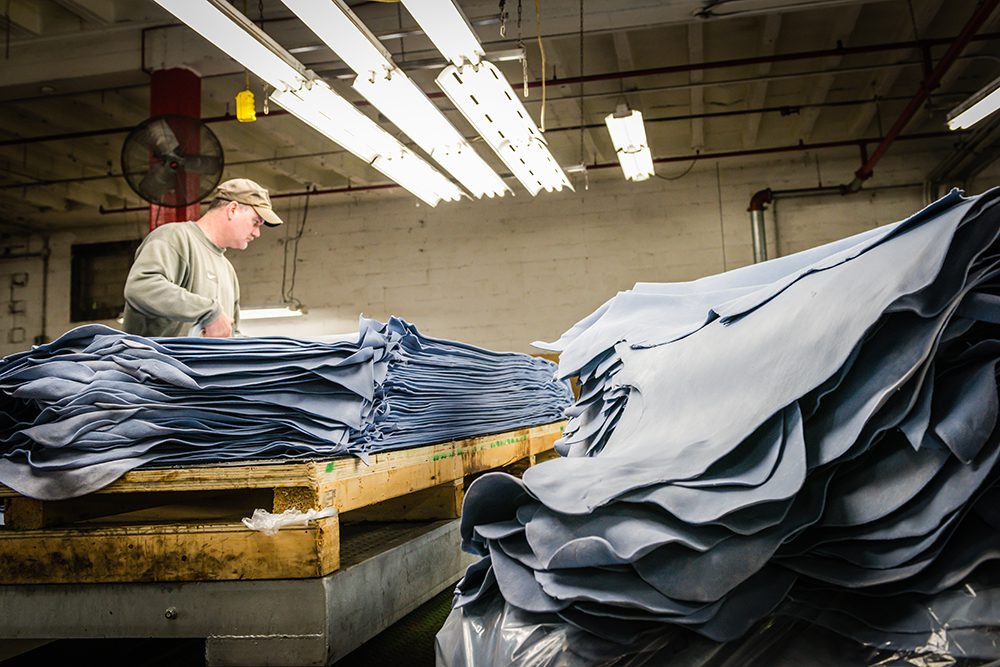
Chrome gives the hides a pale blue colour, which is why the leather is referred to as ‘wet blues’ after this stage. This is what S.B. Foot Tanning Company, the Red Wing-owned tannery, uses to make leather for your Red Wing boots.
The History of S.B. Foot Tanning Company in 5 Bullets
- Established along the banks of river Trout Brook near Red Wing, Minnesota as the Trout Brook Tannery in 1872 by Silas Buck Foot and George Sterling.
- In 1897, Foot became the sole owner of the tannery and renamed it S.B. Foot & Company. It was renamed to S.B. Foot Tanning Company in 1932.
- The second generation of the Foot family, Edwin Hawley, began overseeing daily operations in 1898, and became president and owner when Silas passed away in 1908.
- S.B. Foot Tanning began supplying leather to Charles Beckman’s Red Wing Shoes Company in 1905.
- Red Wing Shoes acquired S.B. Foot Tanning Company in 1986. The tannery still uses updated techniques originally developed by Silas and Edwin Hawley Foot.
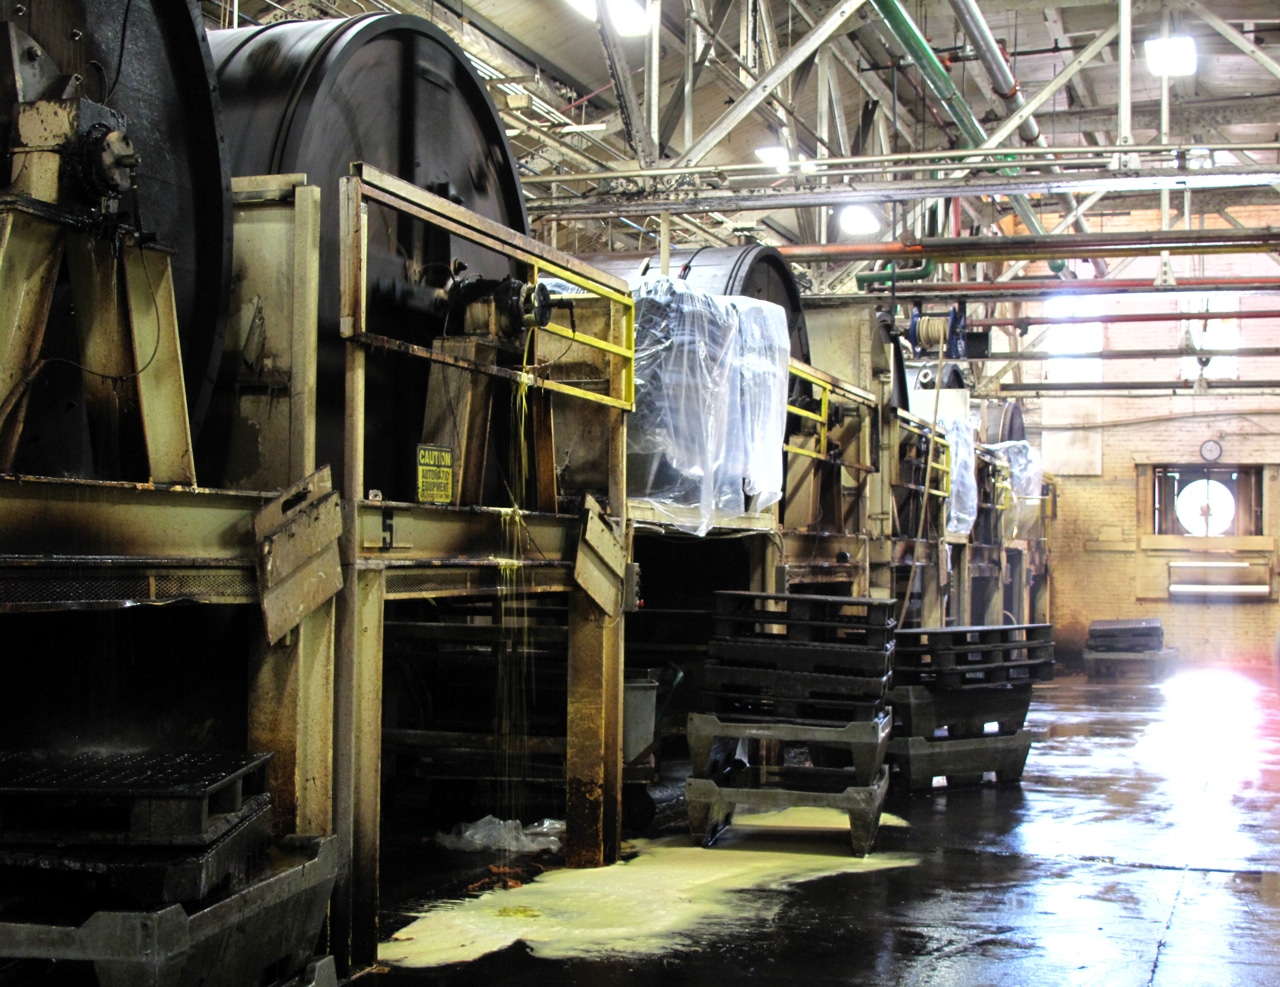
At S.B. Foot Tanning, the wet blues are re-wetted, shaved, and placed into massive rotating wooden drums. In there, they soak in a so-called ‘float’ of tree oils, tanning agents and dyes. As the drum rotates slowly, the mix penetrates into the hides.
The longer the hides soak, the deeper the penetration, which helps conceal future scuffs, and it maintains colour consistency as the leather breaks in. As the hides come out, they are rolled, dried and stretched.
Tanning Method #2: Vegetable Tanning
The much older vegetable tanning process is slower than chrome tanning. And, as the name suggests, the tanning agents are of vegetable origin in the form of tannin from trees and plants.
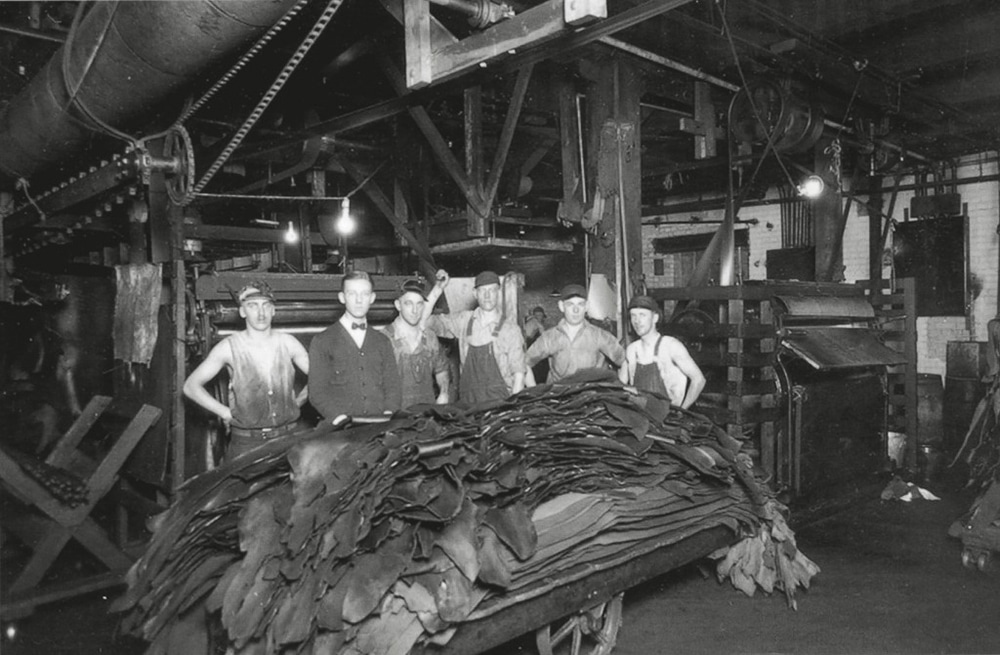
Vegetable tan leather can be either pit-tanned or drum-tanned. In the pit tanning process, the hides are put into ‘pits’ with pulped tree barks and agitated for a month or longer. This allows the tannins to slowly enter into the hides. The hides also shrink slowly, which makes the fibres extra strong. However, because pit tanning takes months, it’s a makes the leather more expensive.
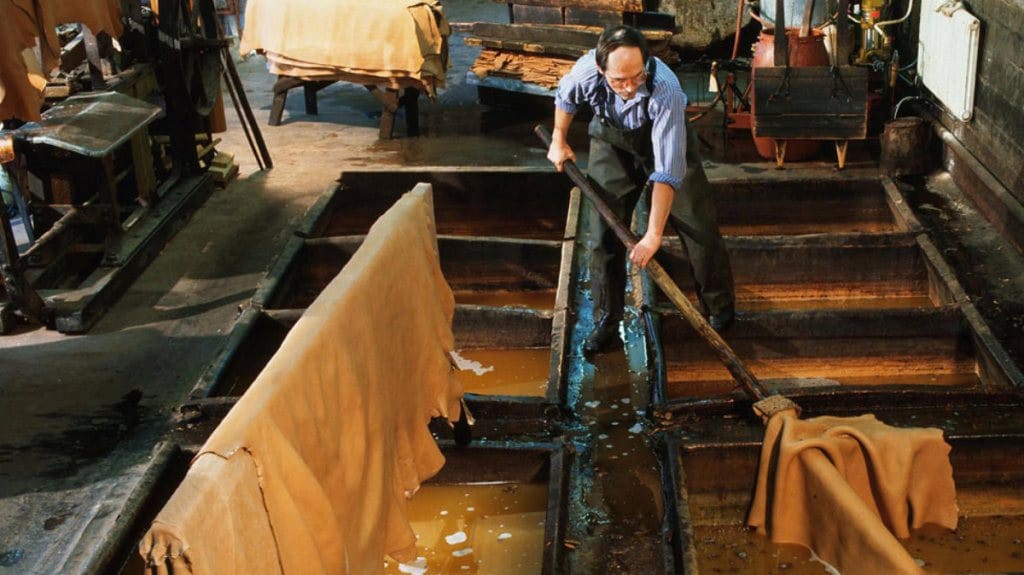
Drum tanning is faster. Like in chrome tanning, the hides are put into drums together with the tanning extracts. These are formulated solutions pre-reduced from tannin sources and give very specific results to the hides.
The hides are then tumbled for a day or two and the tannin is absorbed into the hide. The process results in less shrinkage but, because of the tumbling, the fibres of the hide take more pounding and the leather is typically a bit weaker and softer compared to pit-tanned leather.
The key differences between chrome and vegetable tanning
Chrome-tanned leather is softer and more supple compared to vegetable-tanned leather. And it doesn’t discolour or lose shape as drastically in water. It’s also more receptive to dyes.
Vegetable-tanned leather has a greater body and firmness compared to its chrome-tanned alternative. The end result is a more natural leather that ages naturally like no other. But dyed vegetable-tanned leather often changes colour with exposure to light. It’s a leather that’s rarely used for footwear, though.
Stage #3: Processing
Once the leather has been tanned, it’s inspected for thickness and blemishes in the sorting area on the ground floor of the tannery where its determine how to further process it. Let’s look at some of the post-tanning processing steps that most relevant for work boot leather.
Sammiering, splitting and shaving
Cow leather is usually 5-6 mm thick. In most cases, that’s too thick, so it’s split or shaved. These steps also even out differences in the thickness of the leather.
All leather is split or shaved because the tightness is never the same throughout,” Simon Tuntelder explains.
The hides are horizontally split as they’re fed through a machine equipped with two cylinders that have a sharp running blade in between them. Before it can be split, the leather goes through the sammiering process where water is pressed out of it to a predetermined degree of moisture.
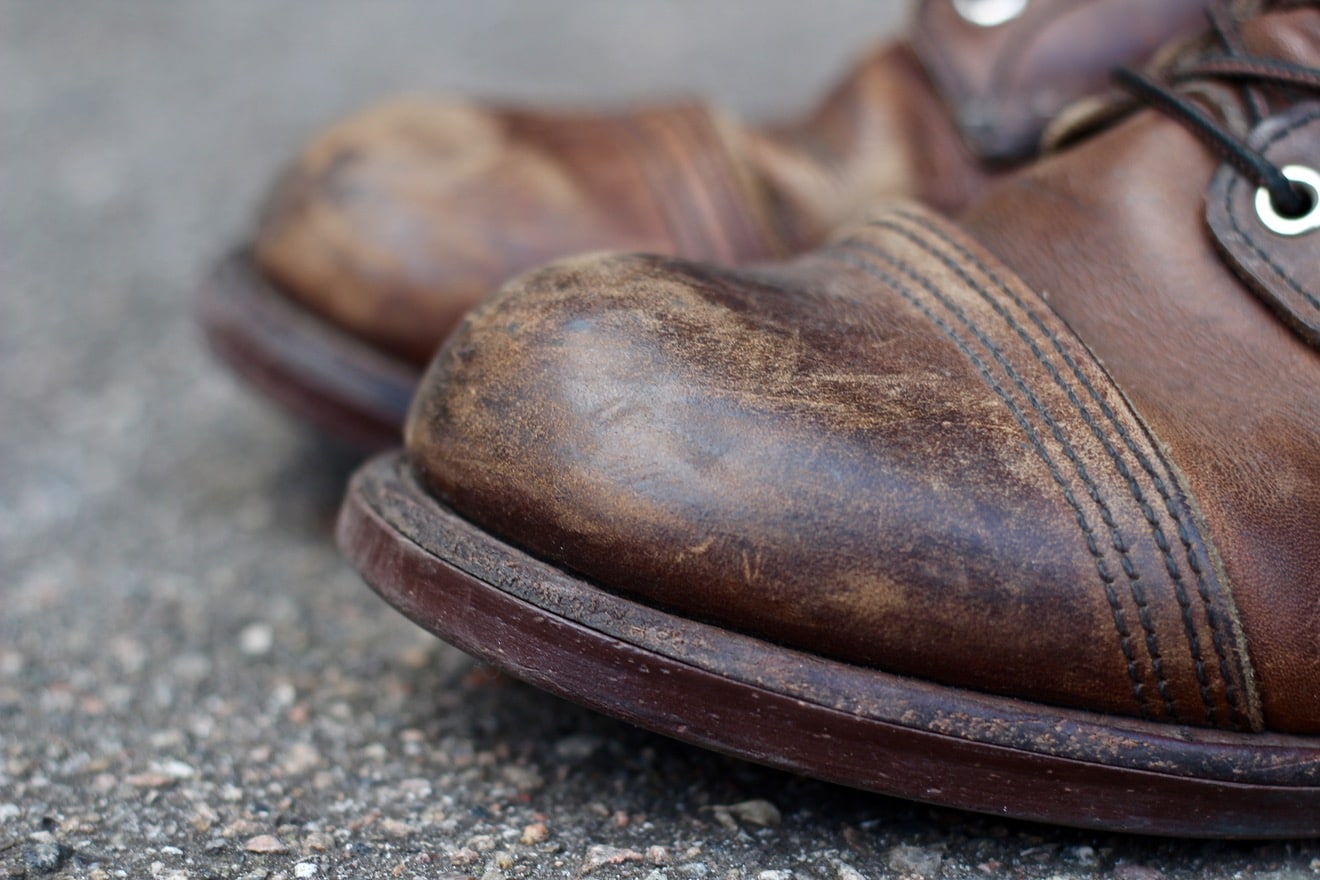
The ‘grain side’—which is where the animal’s fur was—is what becomes leathers like Red Wing’s Oro Legacy, Harness or Featherstone. The ‘split side’ is used for suede.
If the flesh side is turned out it’s what Red Wing calls Roughout. It’s created using a reverse-suede technique. While most tanneries split, thin and weaken the leather to create the rough suede surface, S.B. Foot simply use the other side of the leather. This makes Roughout just as strong and durable as a grain side leather.
Re-tanning
Re-tanning is used to treat the leather further with tanning agents that enhance its strength and give it various characteristics.
Many of Red Wing’s leathers undergo a re-tanning process with chrome tanning agents or a combination of both chrome and vegetable tanning agents prior to being dyed and finished.
Dyeing
Dyeing is all about added colour to the leather, and it’s done in the drums during the tanning process. Like you learned above, chrome-tanned leather has a bluish colour. Therefore, it’s often dyed a light tan to cover the tanning process and to achieve an even finish that hides scratches and scarring.
Since absorption of dye may differ from area to area, slight variations in colour are to be expected. Loose areas of the skin for example typically take in more dye, which makes them appear darker. These colour and texture nuances are part of the natural beauty of the leather.
You may have heard or read about ‘aniline’ and ‘semi-aniline’ dyes. They’ve become buzzwords, but it’s not always clear what they actually mean.
The two dyes are transparent or semi-transparent, respectively, and they create a slightly uneven finish, which maximises the grain (here, meaning the structure) of the leather.
Aniline and semi-aniline dyes explained
Aniline dye is a translucent water-based dye without any added pigments. As it’s absorbed, the natural markings and inherent characteristics of the leather, such as scars and wrinkles, are brought out. And it retains the breathability of the leather.
Semi-aniline dye has a small amount of pigment or finish added. This means you still get the natural characteristics of the hide, but with more colour consistency. This kind of leather won’t show a mark when you scratch it as easily as aniline-dyed leather.
In addition to aniline and semi-aniline dyes, you also have full pigmentation. “That’s like spray-painting a car,” Uwe Maier explains, it fully covers the leather with colour.
Drying
To dry the leather, it’s first pulled out of the drum by hand, stacked and taken to the drying room. There, the leather is laid flat in a tall ‘mechanical sandwich’ that pulls out the initial moisture without applying much heat.
From there, the leather is pulled through a set of large rollers that press out more moisture while stretching it to eliminate unwanted wrinkles as it dries.
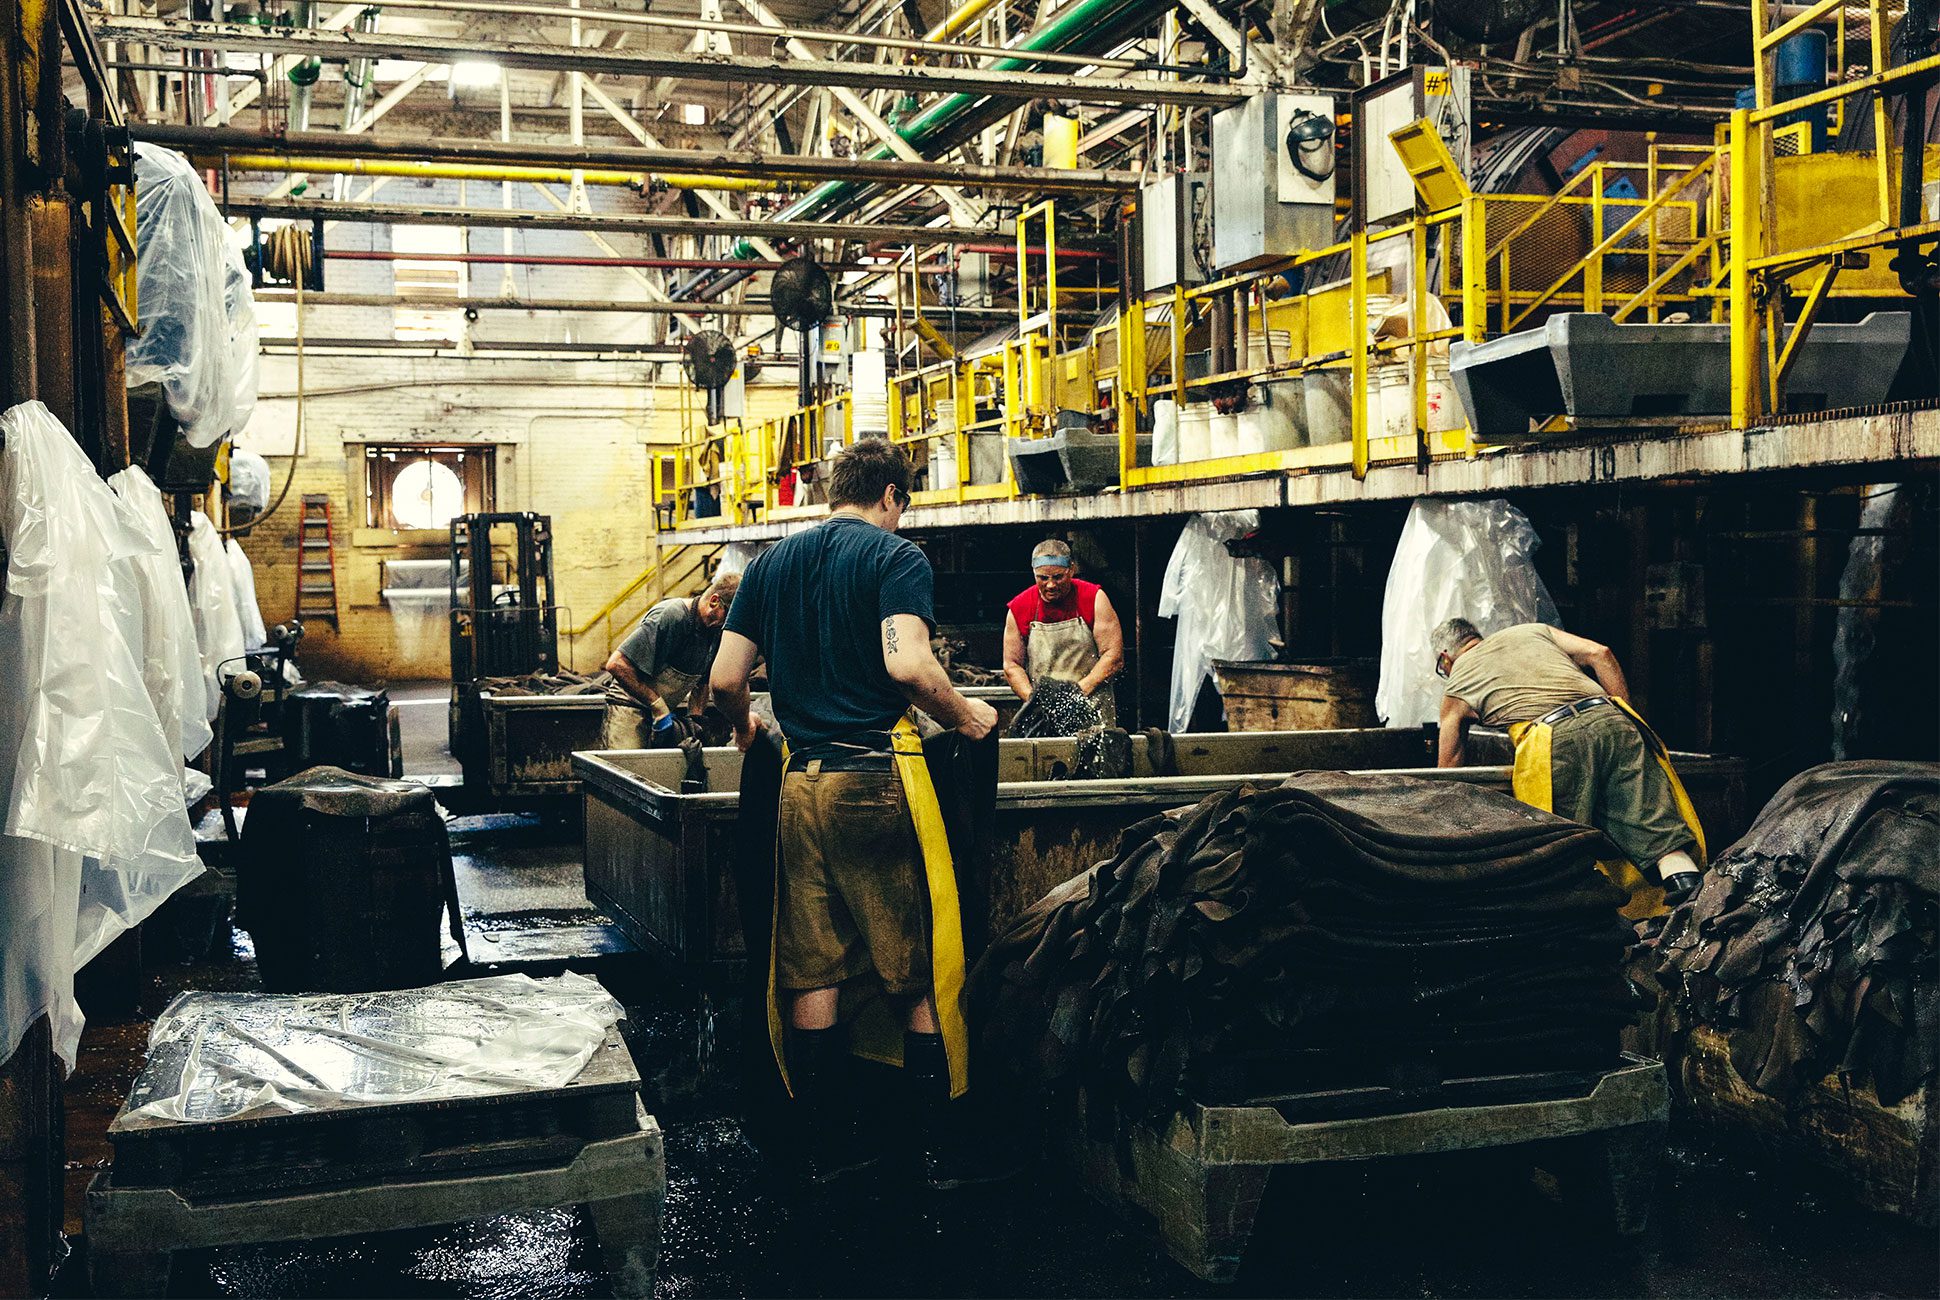
Finally, the still damp leather is transferred into a large heated room, where it’s draped over hundreds of rods to completely dry.
If leather dries too quickly, it can become brittle. Therefore, the drying process is a slow and deliberate one, which greatly affects the quality of the leather.
Staking
Staking is a mechanical process used to soften the leather. After drying, leather is hard like cardboard. To make it softer, the leather is staked (pounded) to loosen the fibres. This is a delicate process because too much staking and the leather becomes too weak and soft.
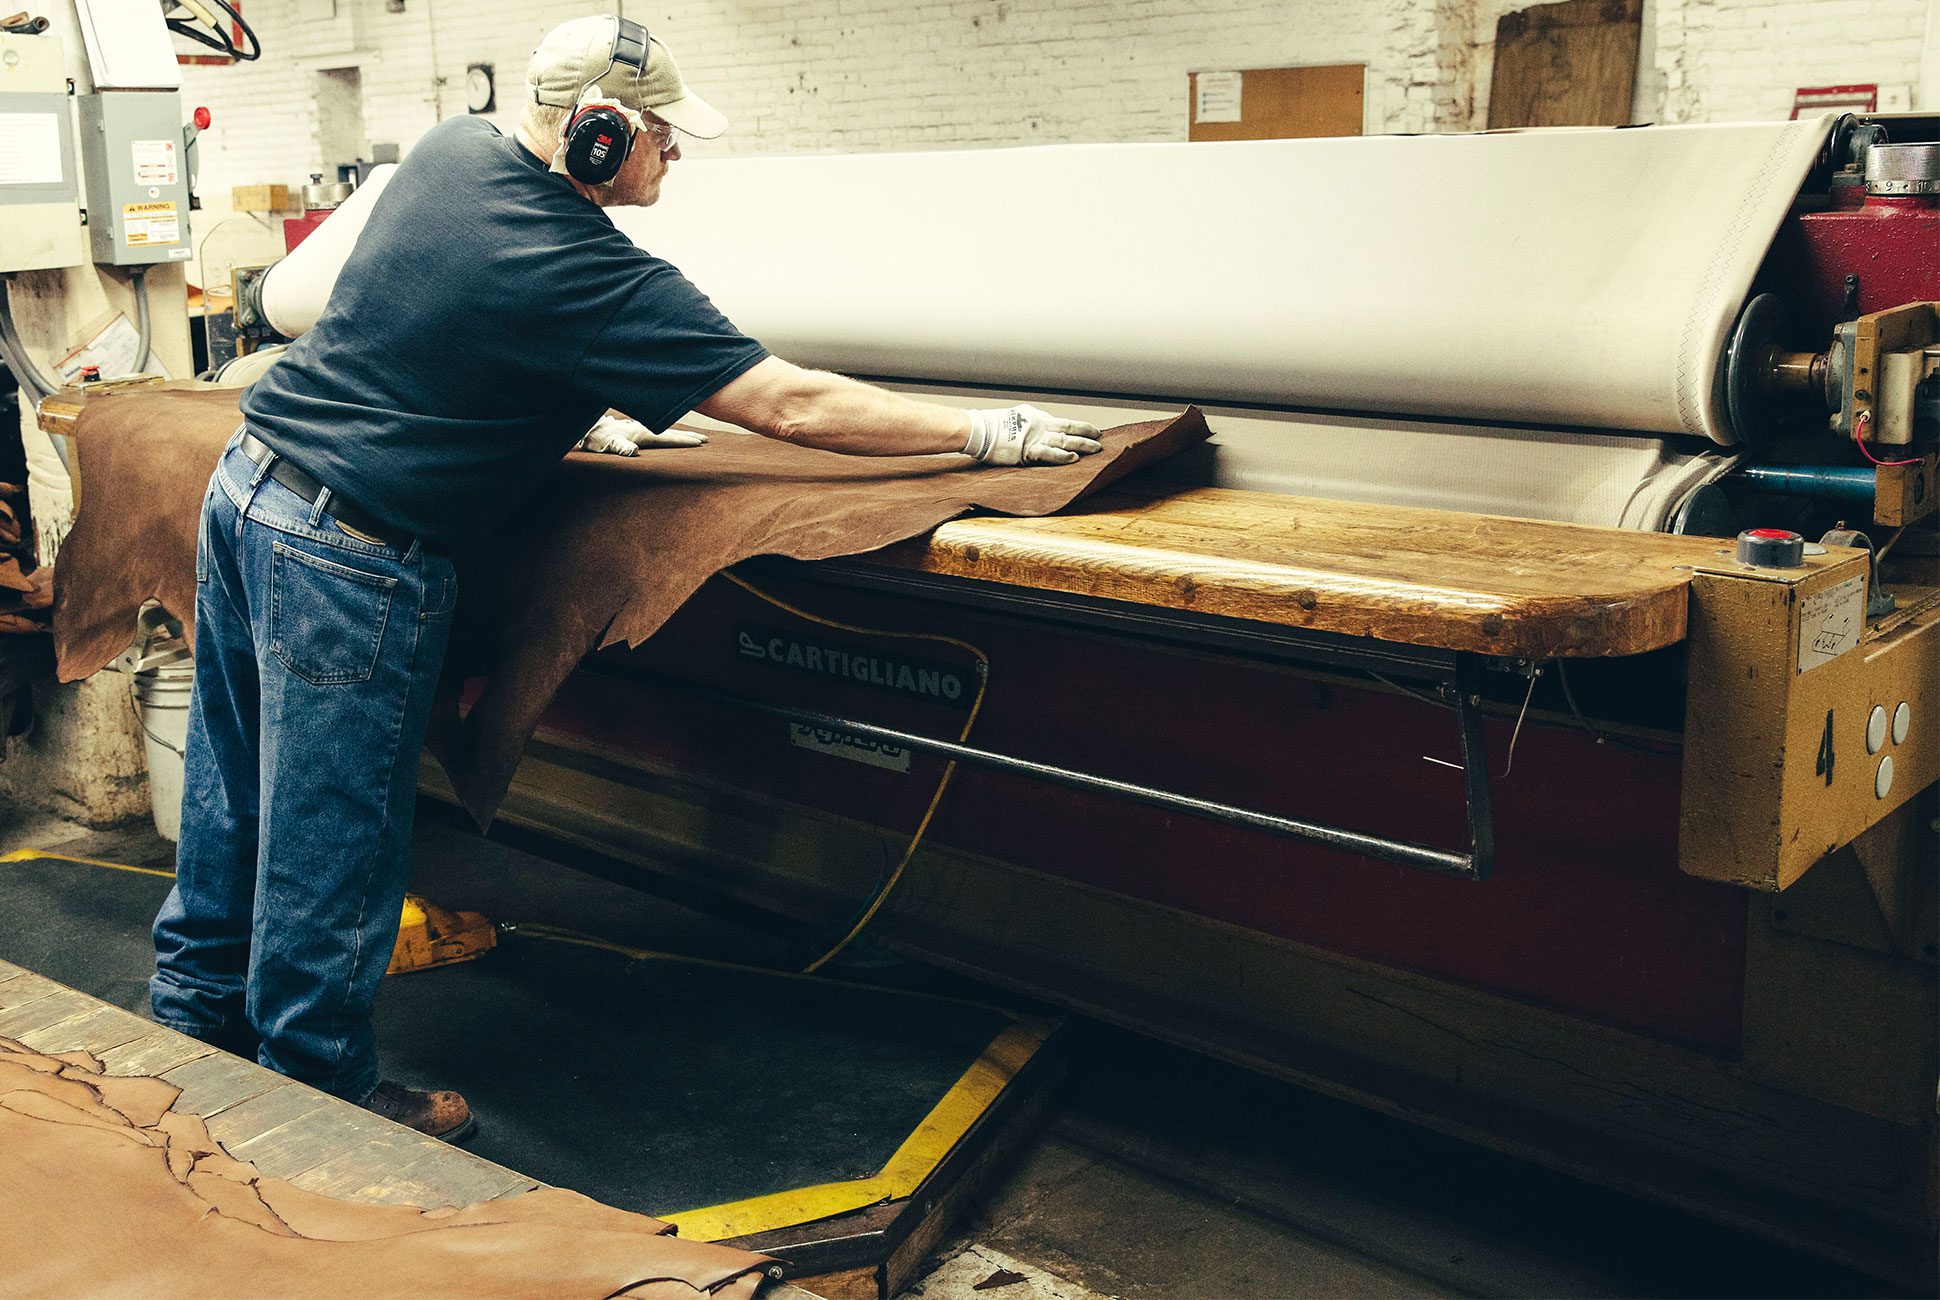
Milling
Milling is a process where the leather is placed into a giant drum and tumbled. During the process, the leather is sprayed with a combination of heat and misting water.
This further softens the leather and brings up the grain. The more the leather is milled, the more the grain appears.
Stuffing
Stuffing or ‘liquoring’ the leather is the process of adding fats back into it. Leathers that have pull-up or colour change when stretched and have a softer stretchier feel are often stuffed with fats.
Both dying and fat stuffing add weight to the leather, which makes it feel heavier in the hand due to the added ingredients.
Stage #4: Finishing
The fourth stage of making leather is all about working with its surface to achieve a desired appearance and feel. Tanners call this stage ‘finishing.’
Different finishing methods are used to level the colour of the leather, cover grain defects, control the gloss, as well as providing a protective surface to improve its resistance.
The processes commonly used include oiling, brushing, impregnation, buffing, coating, polishing, ironing and more. Again, it’s the ultimate purpose of the leather that determines the number and types of processes used.
Correction
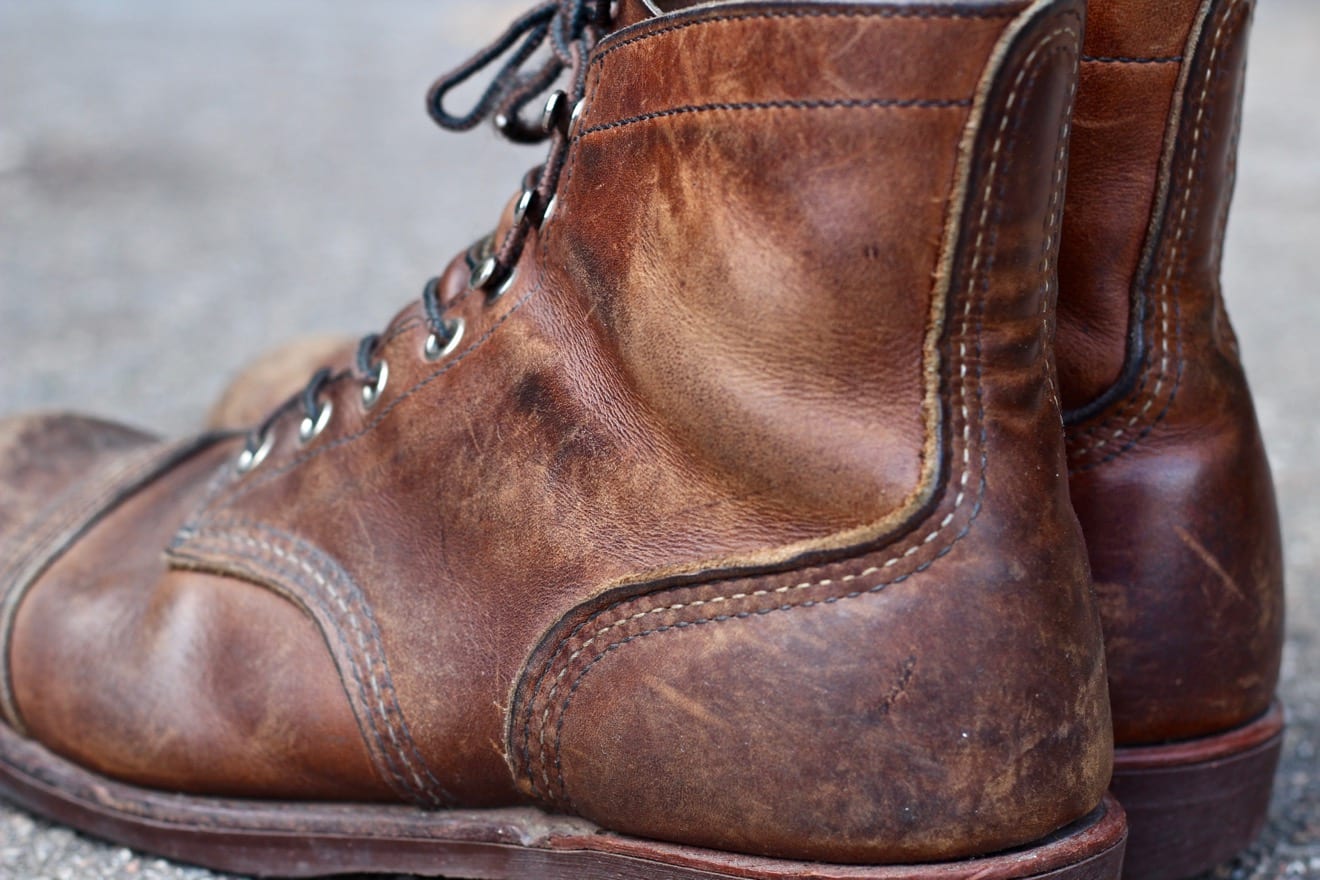
Leather is ‘corrected’ to conceal scarring, and it involves processes like ironing, buffing or sanding as well as painting the leather. Correction thus removes the natural grain of the leather. Sometimes though, the leather is ironed and fake grain is added back.
“Cheap leather is always corrected,” David Himel argues. “This allows for maximum usage of the finished material and makes it easier to cut pieces because the leather is smooth, grainless and has none of the natural characteristics of the animal.”
Full grain and top grain leather explained
“Full grain leather is not corrected while top grain leather is only lightly corrected,” David explains.
These are thus more costly to use as you have to cut around damaged and scarred parts, which slows down the process and results in more wastage.
“You get a far more natural finish and ageing from full grain and top grain leather,” he concludes.
Polishing
To achieve a smooth surface, leather is polished. This is the finish Red Wing’s Featherstone leather goes through. Smooth-finished leather requires a bit more care and attention compared to Red Wing’s other leathers.
Finishing of Red Wing leathers
Many of the leathers Red Wing are finished with a combination of wax and oil, which completely permeates the leather to provide inherent resistance to moisture. The treatments also bring out all the natural attributes of the leather.
Similar to the grain of wood, leather has a myriad of ‘nature’s signatures,’ such healed scars, wrinkles and differences in grain, which are unique to each hide. Leather that doesn’t have any artificial finish applied to its surface will have inherent variations in the texture. That’s part of the beauty of it.
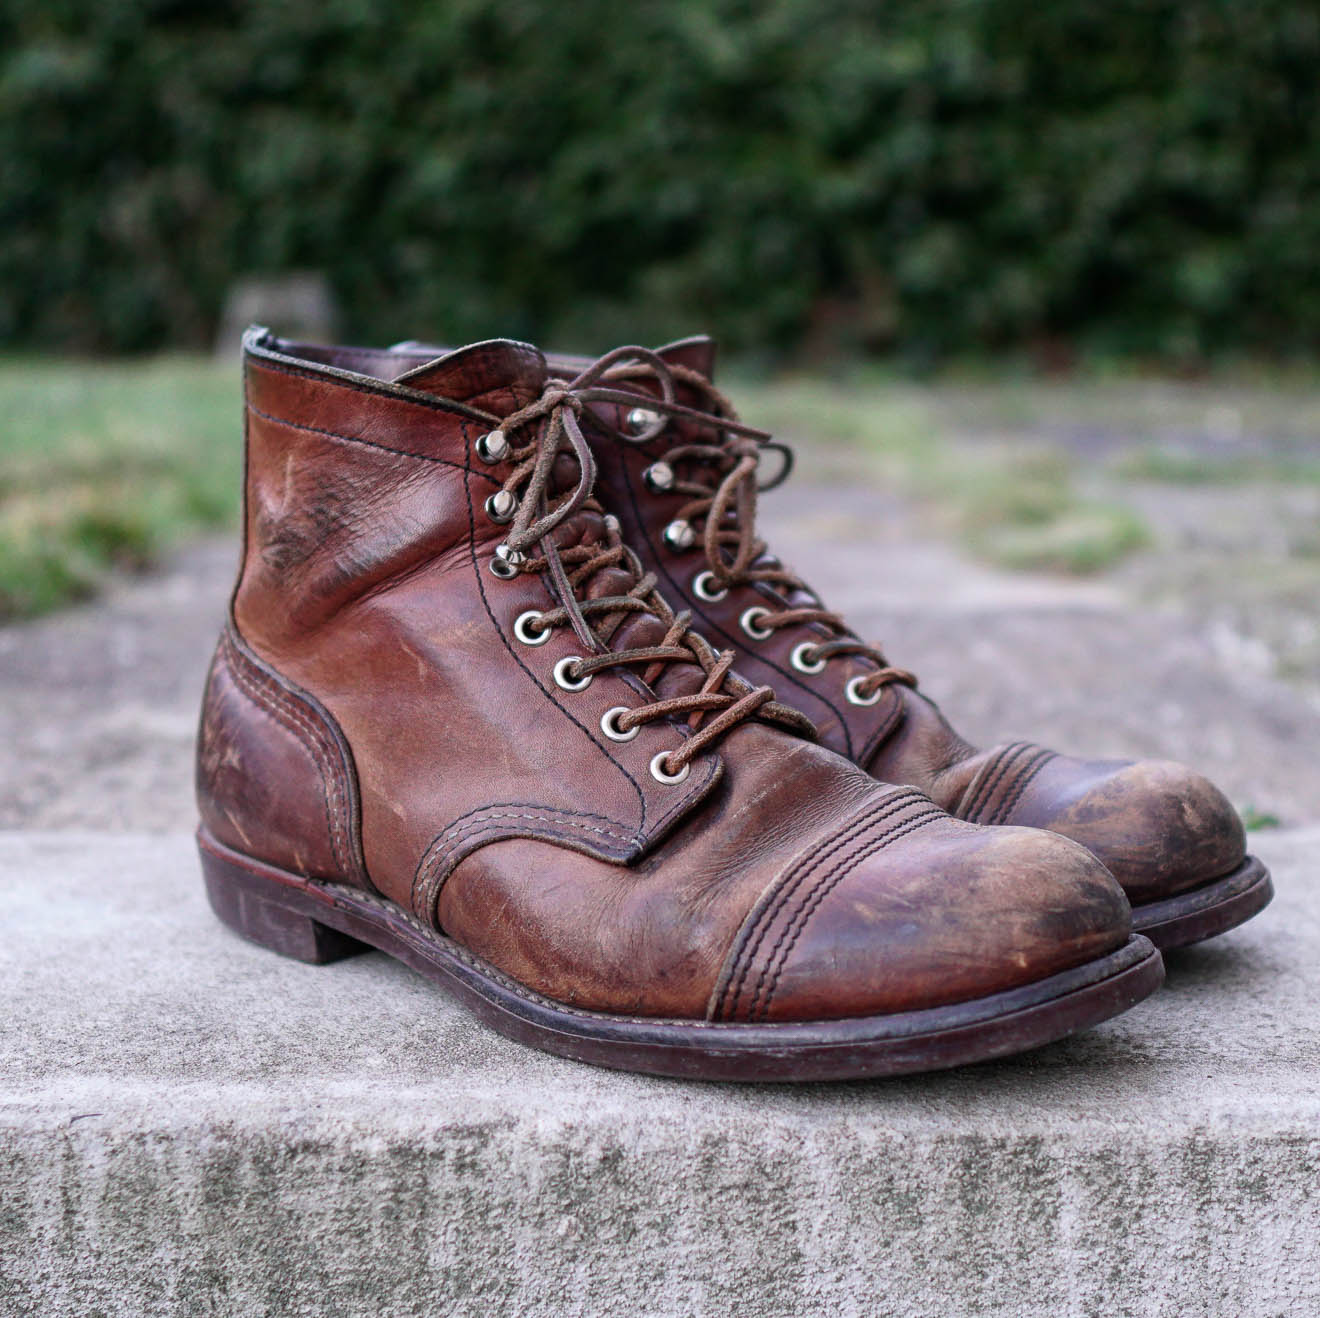
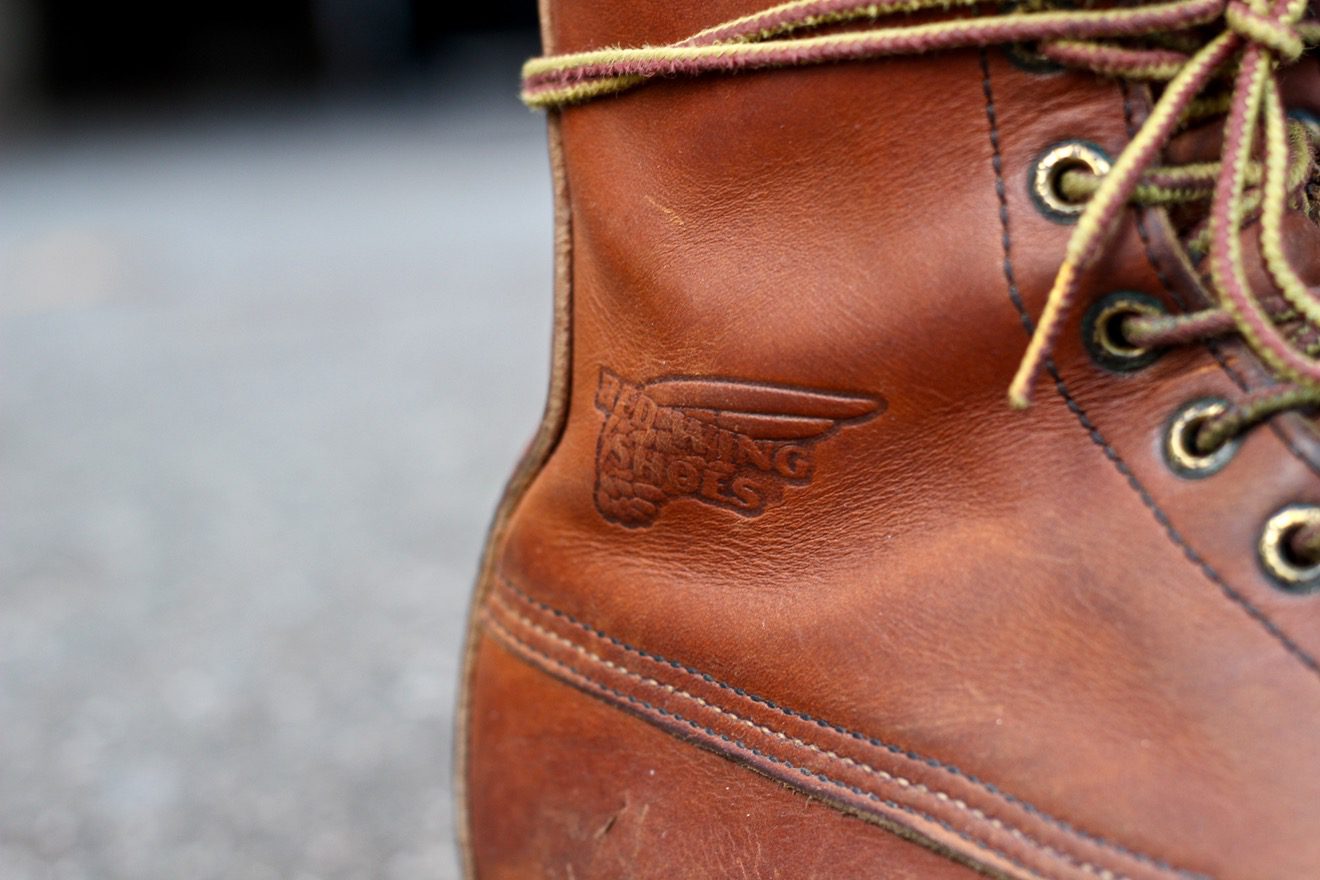
Most of the popular Red Wing styles such as the Irish Setter or the Iron Ranger are made from oil-tanned leather. It’s water, stain and perspiration resistant, and it has a natural look and feel because it hasn’t been finishing all that much. It’s also more breathable.
Connect for More Content Like This
In the end, making leather is a complex process, which consumes raw materials, water and chemicals.
So, like it’s the case with denim, you should aim to buy leather products that will last, both from a fashion and from a practical point of view.
That’s probably another reason why Red Wing Shoes have become such an established part of the denimhead uniform.
If you want to stay up-to-date with what they’re doing at Red Wing, I recommend following them on Instagram and Facebook.
Share