This post is sponsored by Red Wing Heritage Europe.
Why Red Wing Actually Can Claim Their Boots Are Better
I’m a big fan of Mad Men. One of my favourite scenes is from the very first episode, where Don comes up with the idea for Lucky Strike’s ‘it’s toasted’ campaign.
Although the show’s version of the story isn’t how Lucky Strike really got their famous tagline, it’s a great example of something quite prevalent in the way so many products are marketed: that superior quality is a result of how the product is made.
In the world of fashion and related lifestyle products, we often hear and read about ‘craftsmanship,’ and how it’s the way an item is made that makes it ‘better.’ But how often is that actually true?
This second instalment in my mini-series about leather and boots investigates the five stages of how Red Wing boots are made.
My goal is to show you why companies like Red Wing actually can claim that their craftsmanship is what makes them different.
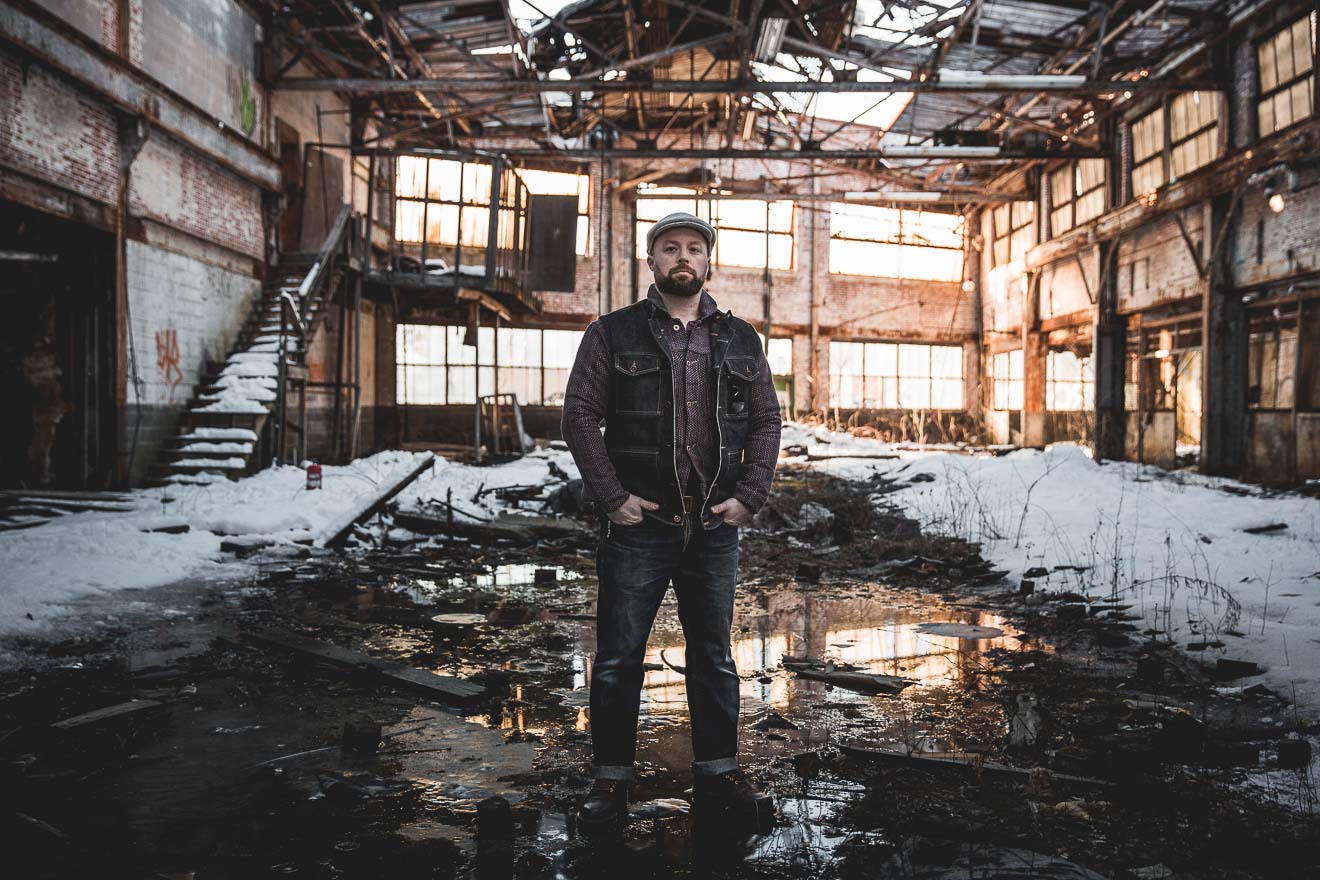
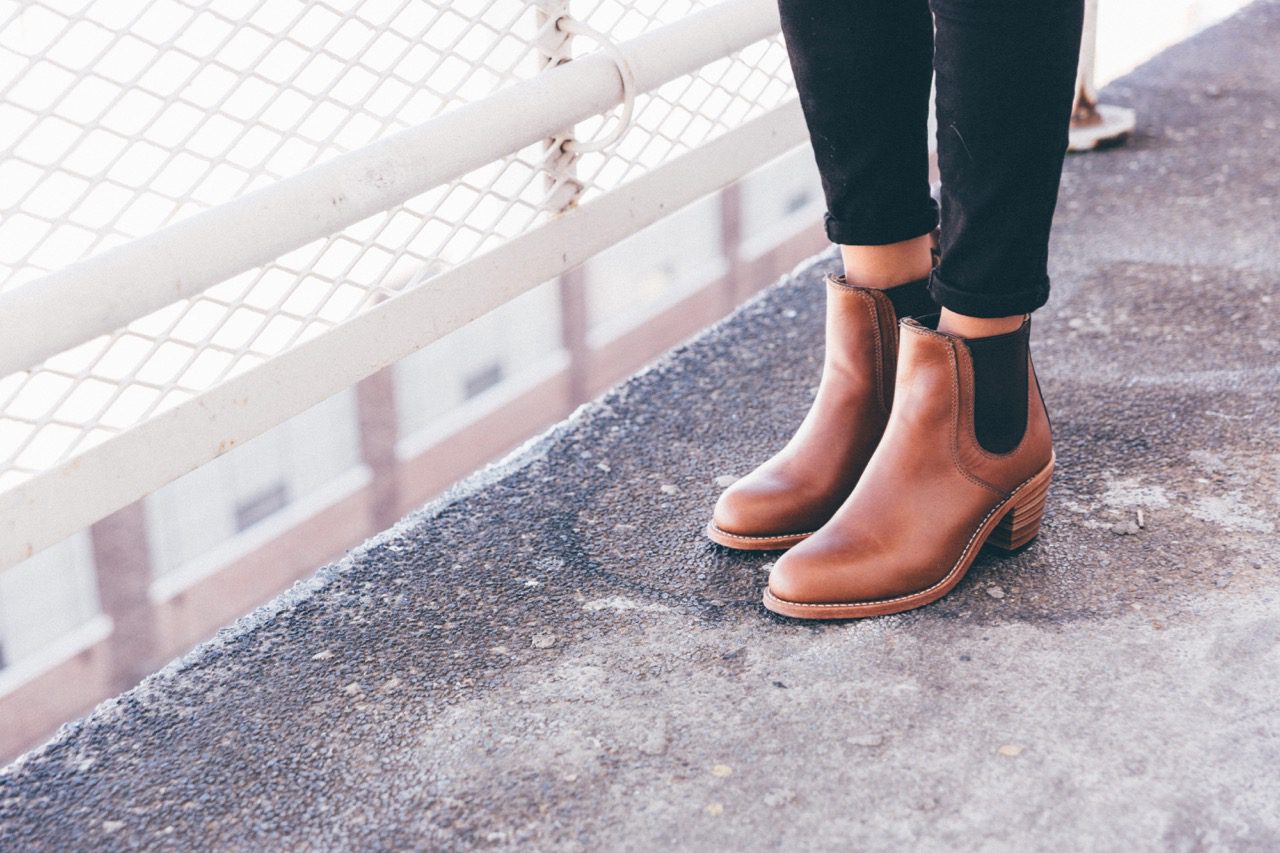
Built to Fit, Built to Last
Red Wing proudly makes boots that’re ‘built to fit, built to last.’ The company philosophy isn’t part of a marketing campaign; it’s how they’ve been making boots since 1905.
Every single pair of Red Wing’s ‘heritage’ boots is made in one of their two US-based factories. They’re essentially the same as the boots made for Red Wing’s work division; made with the same leather, on the same machines, with the same stitching.
Although these highly technical boots can do more than what most of us denimheads really need, it’s what we’ve come to expect from the brand.
They’re made in a certain way that’s true to Red Wing’s community, employees, and their customers. And the craftsmen and -women who make the boots take their time to do the job right.
The five stages of how Red Wing Boots are made
- Stage 1: Cutting the leather
- Stage 2: Sewing the leather pieces together (fitting)
- Stage 3: Giving the boots their famous fit (lasting)
- Stage 4: Attaching the outsoles
- Stage 5: Adding the finishing touches
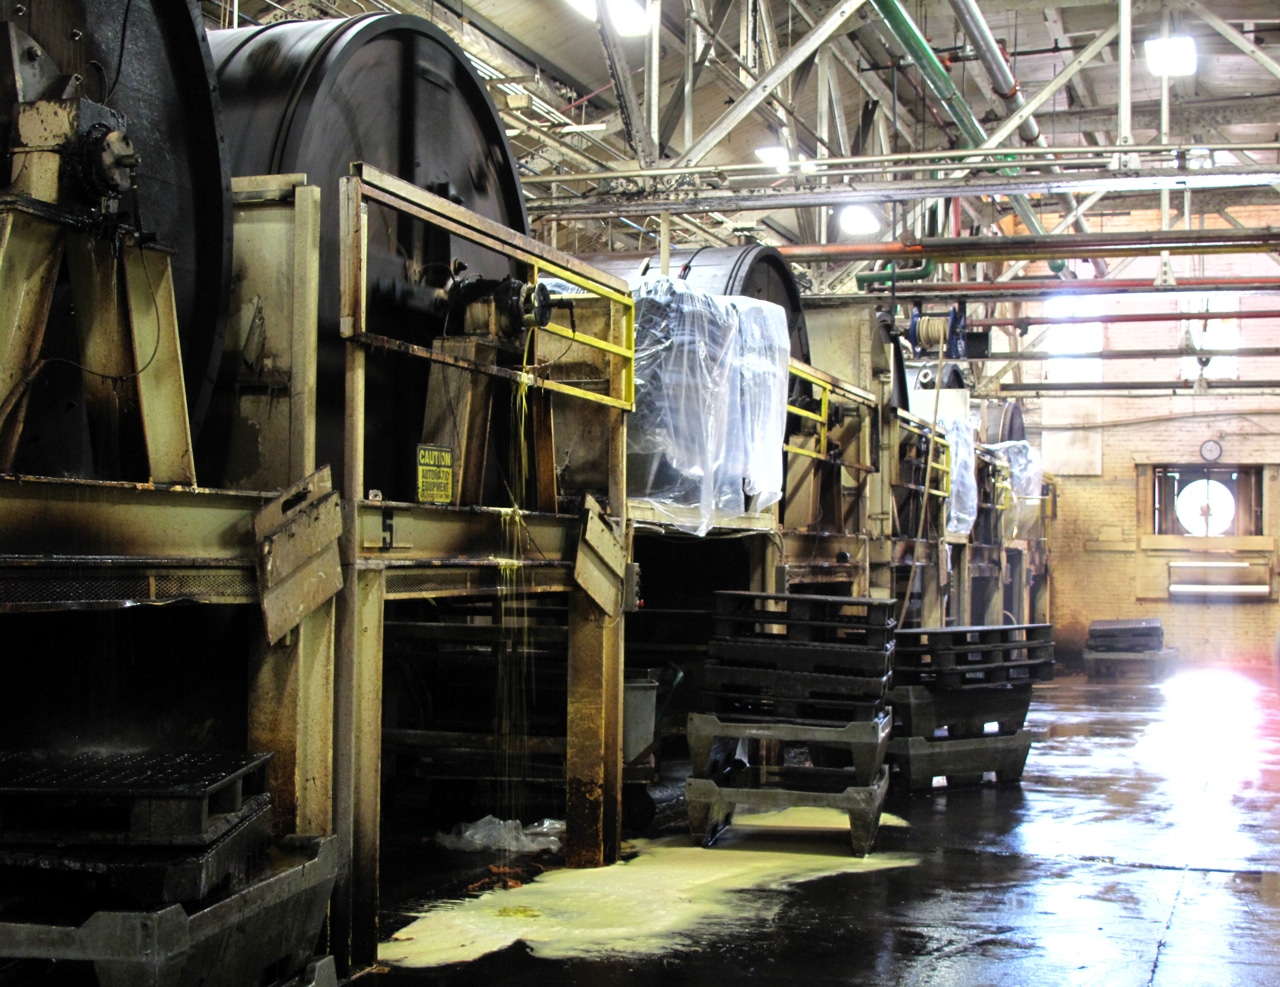
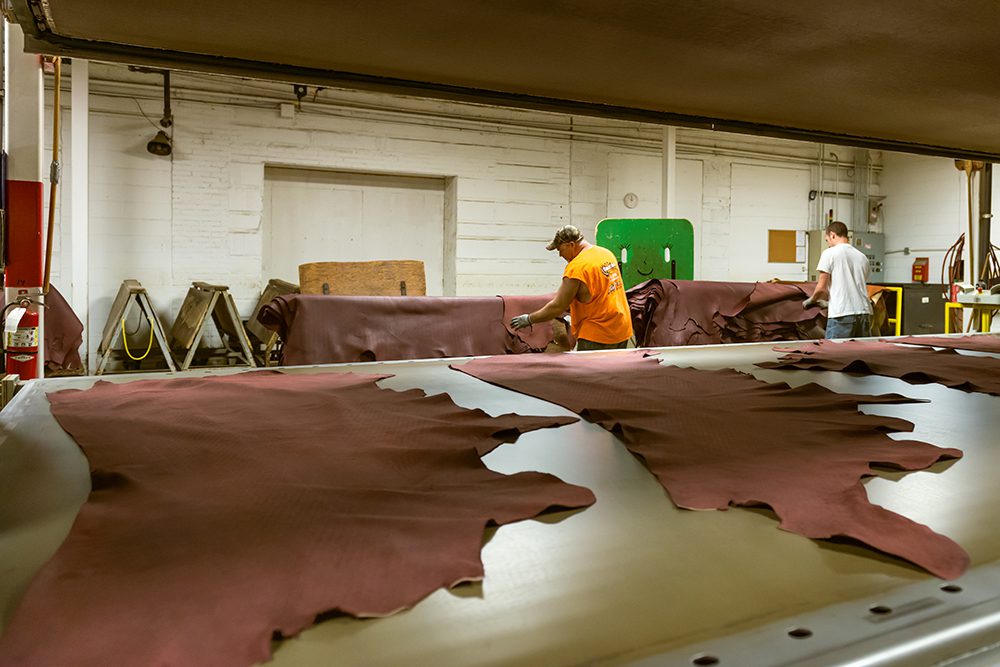
Stage 1: Cutting
In the first post in this series, I thoroughly investigated and discussed how leather is made.
The first stage of turning that leather into a pair of boots is cutting it into the different pieces needed for that particular boot. This happens in the cutting room.
The pieces are cut by laying a die cutter, which is similar to a cookie cutter, on the leather. Then, a hydraulic press creates crisp, clean cuts. The lining is cut on a computerised cutting machine.
Cutting the leather requires highly skilled work and careful calculations to maximise the usage of the leather. Workers in the cutting room know from experience exactly where on the hide each piece must be cut to get the best possible results.
In the next stage of the process, the cut pieces of leather are sewn together. This happens in the fitting room, where the upper of the boot is made.
Stage 2: Fitting
Boots like the ones Red Wing makes require over 230 hand operations in total. In the fitting room alone, there are often more than 30 individual steps. Stitching is mostly free-form handwork that takes a great deal of eye-hand coordination.
First, the sub-assemblies are sewn together. This includes operations such as sewing the label onto the gusset (the soft piece of leather under the laces). Some parts get die marks to guide the sewing done later, while others get trimmed, known as skiving.
Next, the quarters are sewn together, either manually or by computerised stitching machines. Then the eyelets are attached. The final sewing steps include attaching the gusset and vamp, which the front of the shoe, in a step called gusset stitching.
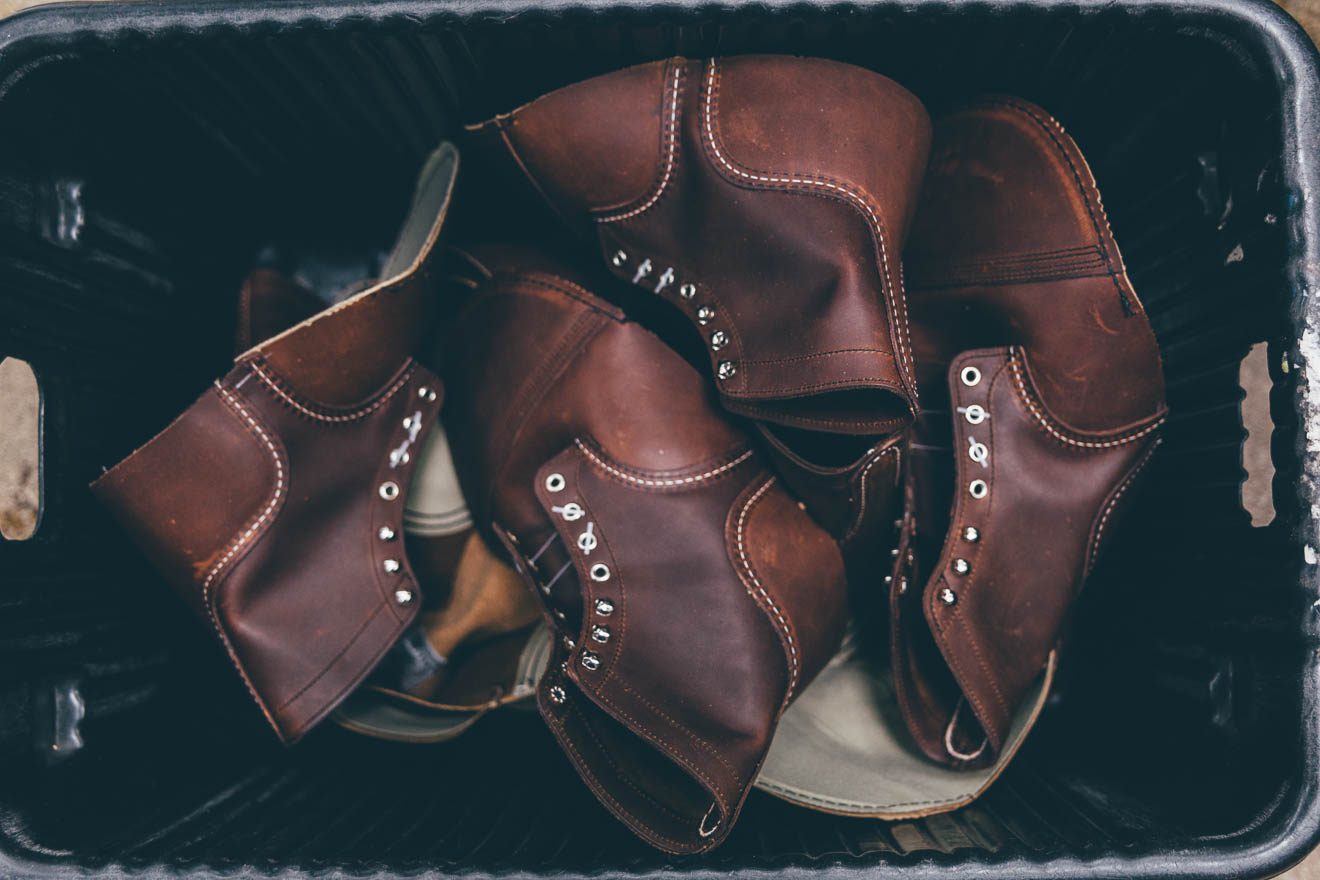
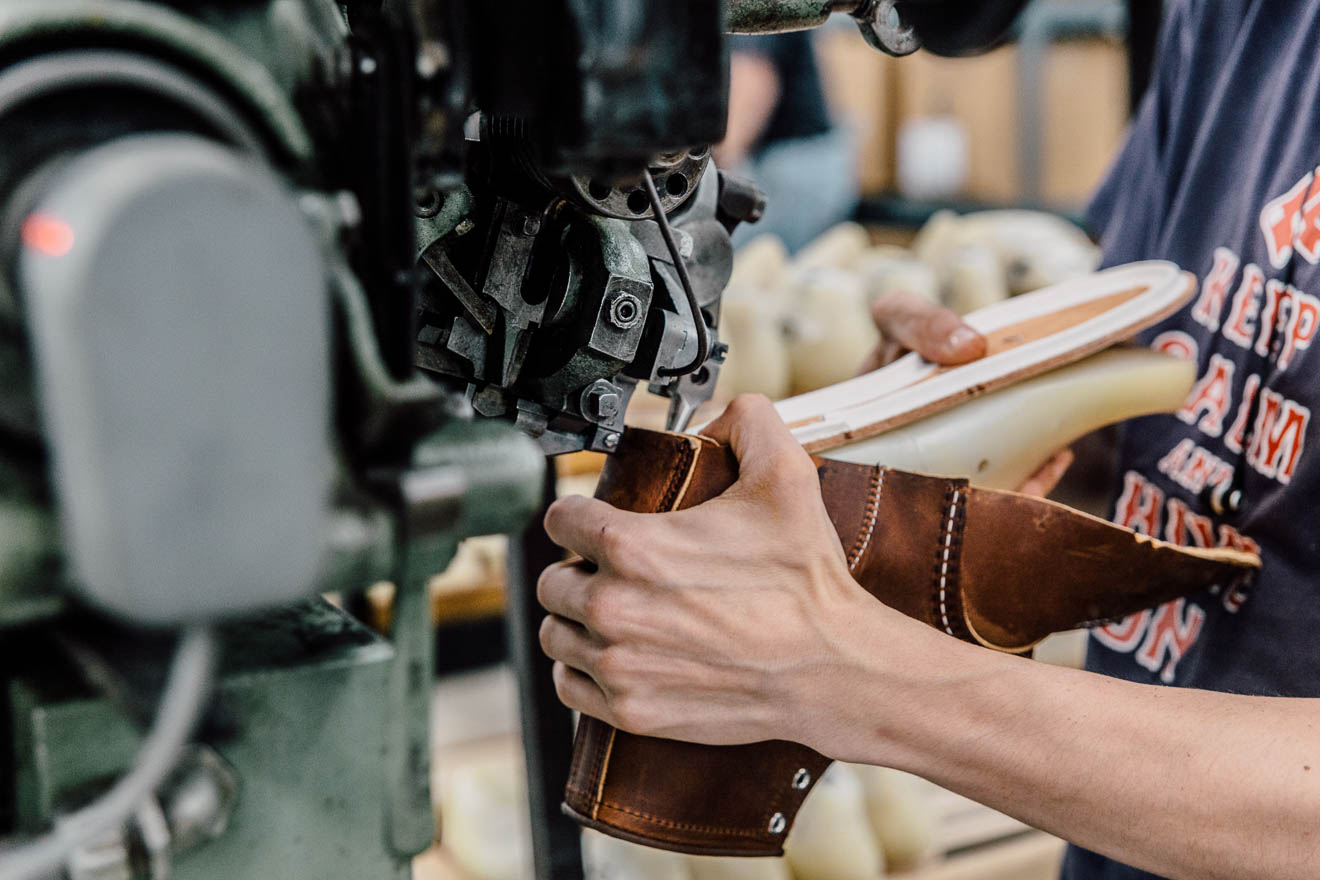
It’s also in the fitting room that the famous Puritan stitching is made, one of Red Wing’s signature details.
Puritan stitching
The iconic three rows of stitches hold the front and back sections of a boot together. And they play a key role in ensuring the hard-wearing and long-lasting durability that wearers have come to expect from a pair of Red Wing boots. As the thread goes through the leather, it’s coated in wax, which makes the stitching incredibly durable.
The Puritan stitching machine was patented in 1893 by the Puritan Manufacturing of Boston, Massachusetts—and Red Wing boots have been made on these machines since the early 1900s. Parts for the Puritans are no longer available on the market. So Red Wing’s machine shop makes new parts when they’re needed!
Once all the stitching of the upper is done, the boot is ready for the lasting stage.
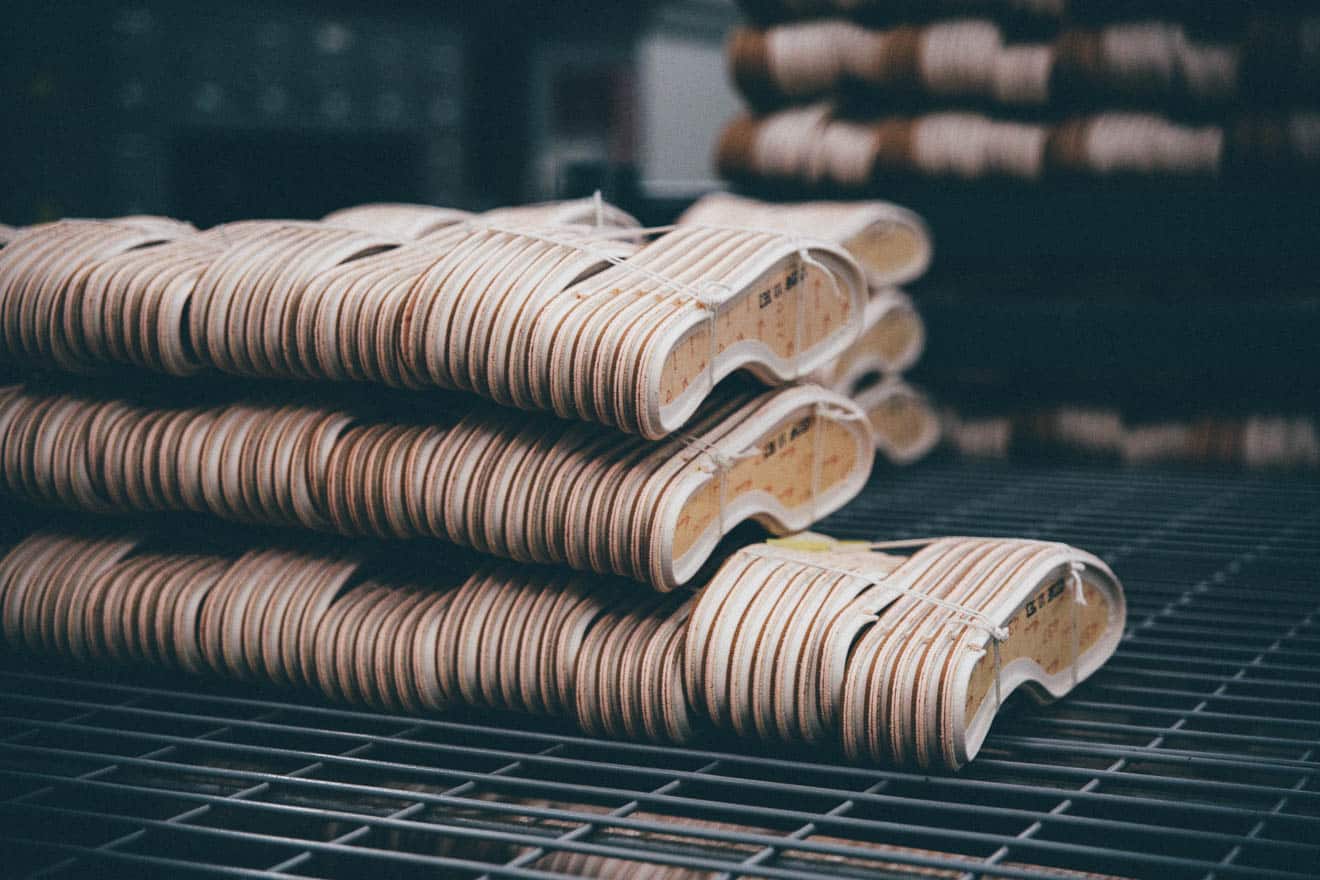
Stage 3: Lasting
A key feature of any boot is a great fit. The lasting stage of making boots ensures they’ll fit your feet.
Lasts are essentially a stand-in for your feet, and they’re made from very dense plastic. The lasts are made in the shape of average feet, and Red Wing has over 30 styles in a total of hundreds of sizes. It creates the shape of the boot and defines what the boot is ultimately going to be looking like.
After the boots have been lasted, the last remains inside the boot until it’s completely finished. This allows each step of the boot’s construction to be completed while retaining the original shape and dimensions of the foot portion.
In the lasting department, the insole is first added. It keeps the rest of the components working together, and maintains the boot’s shape and comfort.
Then, a ply rib is added, which also connects the rest of the boot. The insole is then temporarily tagged to the last. A stiffening counter is inserted between the two layers of the heel. The whole boot is then, temporarily, tagged to the last.
Next, the vamp is softened by heat to be stretched over the last. This is how the toe of the boot is formed. If the boots have a steel toe, it’s inserted in this step between the leather and the liner.
Then, excess material is trimmed off, the leather is pulled down tight on the last, and the sides are stapled. Lastly, the temporary tags are removed before the heel is shaped, and any remaining excess material is cut off before the boot is send off to bottoming.
Stage 4: Bottoming
This is where the rubber meets the road, so to speak; the bottoming stage is where the outsole of the boot is attached to the uppers. In addition to actual rubber, the outsoles can be made crepe or polyurethane.
Red Wing boots are made with one of two bottoming methods: the century-old traditional welt attachment or direct-attach, where the bottoms are moulded directly onto the boot. Let’s look at the two methods and their advantages separately.
Method #1: Traditional Welt Attachment
Most Red Wing boots are made with a traditional welt attachment, which requires about a dozen steps:
It begins with the filler, which adds cushioning. Then, a shank of metal or plastic is glued on before the filler is added.
Inside the ply rib that was added in the last stage, a hot liquid cork filling that looks like peanut butter is applied. The cork creates cushioning and makes the shoe work with the shape of your foot.
The key advantage of the cork filling is that enables you to create your own custom midsole with your unique footprint. Throughout the boot’s lifetime, the cork filler will maintain a certain sponginess.
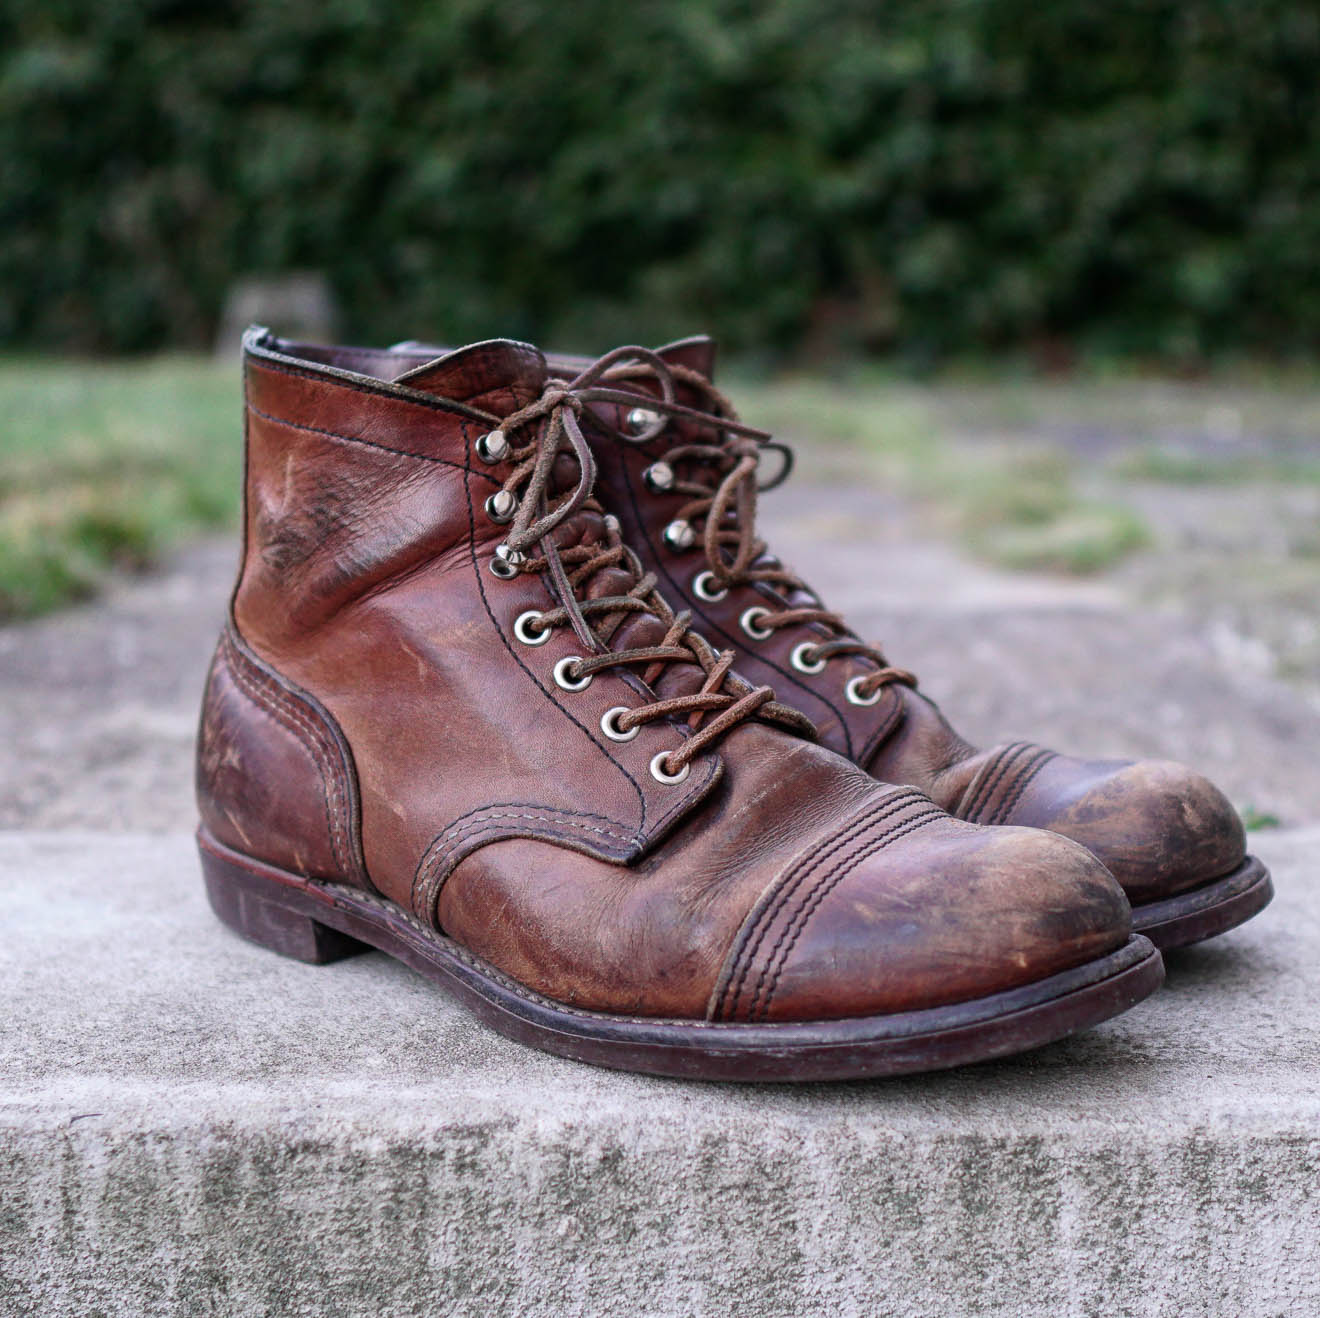
After the cork filling, the midsole is attached. Red Wing uses two types of attachment style. Styles like the 875 are made with 360-degree welting, where the sole is sewn all the way around the boot, while styles like the Iron Ranger are made with 270-degree welting where the heel is closed.
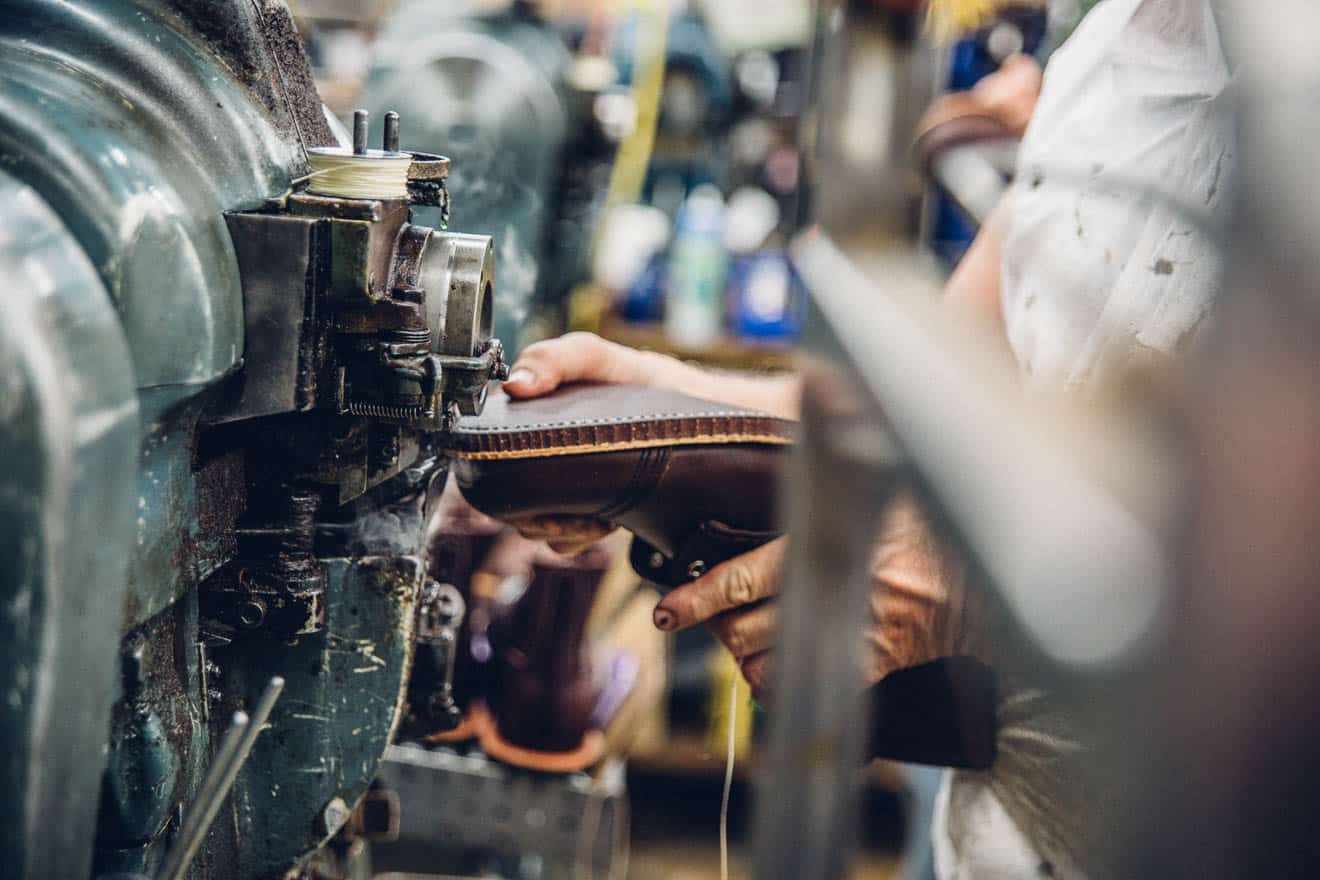
Lastly, the outsole is added with cement and/or sewing. The outsole needs to withstand wear and tear from below while being flexible enough to protect your body from jarring with each step.
On some boots, the heels are nailed on. If that’s the case, a metal plate on the last inside the boot crimps the end of the nail to hold it firm. The heels get trimmed and scoured to give a nice finish on the edge, all done in one cut by the operator. Not an easy job!
Method #2 Direct-Attach Welt
The second bottoming method used outsoles like Red Wing’s SuperSole, which you’ll find on styles like the ‘Frankfurter.’
Direct-attach welting skips the bottom filler and midsole steps. Instead, the outsole is attached directly to the welt.
Liquid chemical is added to a mould. The boot is then clamped onto the mould and sent through a tunnel where the chemical reacts to completely fill the mould and bond to the boot as it hardens.
Variations on this process allow Red Wing to create very different kinds of bottoms. For instance, they can mould two entities into the same outsole, which can make it hard-wearing and soft at the same time.
Stage 5: Finishing
The final stage of making Red Wing boots is where the finishing touches are added before they’re ready to be shipped.
First, the lasts are removed by hand with last pullers. Then, depending on the desired look, the boots are polished or added with additional oil.
To be tough, stable and soft all at once to cushion your foot and provide just the right amount of comfort and support, some Red Wing boots also have detachable footbeds, which are also added in this stage.
If the boots have laces, they’re added; the boxes are prepared, and each pair of boots gets wrapped up and boxed.
Connect for More Stories Like This
As I argued in the blog post about how leather is made, putting a boot together is a complicated process. It takes skills and quality materials to make quality boots.
If you want to stay up-to-date with what they’re doing at Red Wing, I recommend you to follow them on Instagram and Facebook.
Share