Learn How to Take Perfect Photos of Your Jeans
Photographing denim can be quite a challenge. Both for professionals and us amateurs. This how-to guide helps you get the best shots of your jeans and denim fades.
A lot of things have changed since this post was originally published back in 2014.
Most importantly, the cameras in our smartphones have gotten A LOT better!
It’s also become much easier to edit your photos. Whether you do it with your phone’s built-in photo app, a third-party app, or the tools that Instagram make available, it’s never been easier!
But the essence of the original blog post, which photographer Mikkel H. Pedersen helped me write, will still help you take better photos of your jeans and fades.
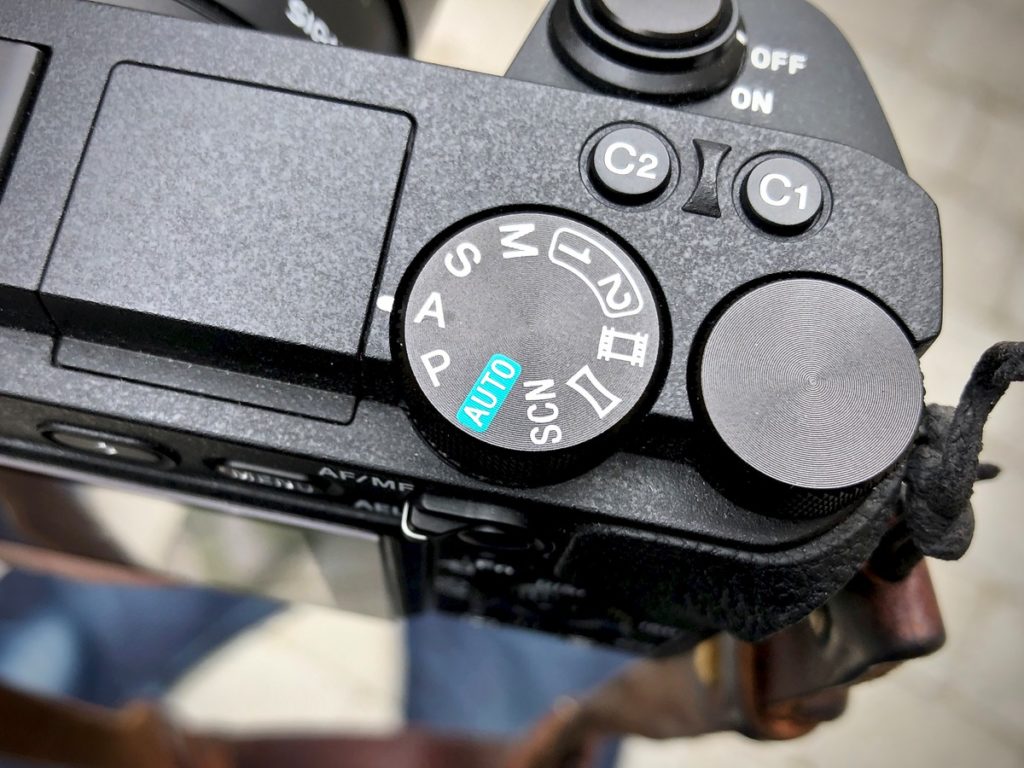
Step 1: Choice of Camera (Anything better than a smartphone will do)
Your choice of camera matters. But as I’ve already mentioned, for the purpose of taking photos of your fades, you don’t need to spend $$$ on an actual camera if you have a newer smartphone (> iPhone 6 or similar).
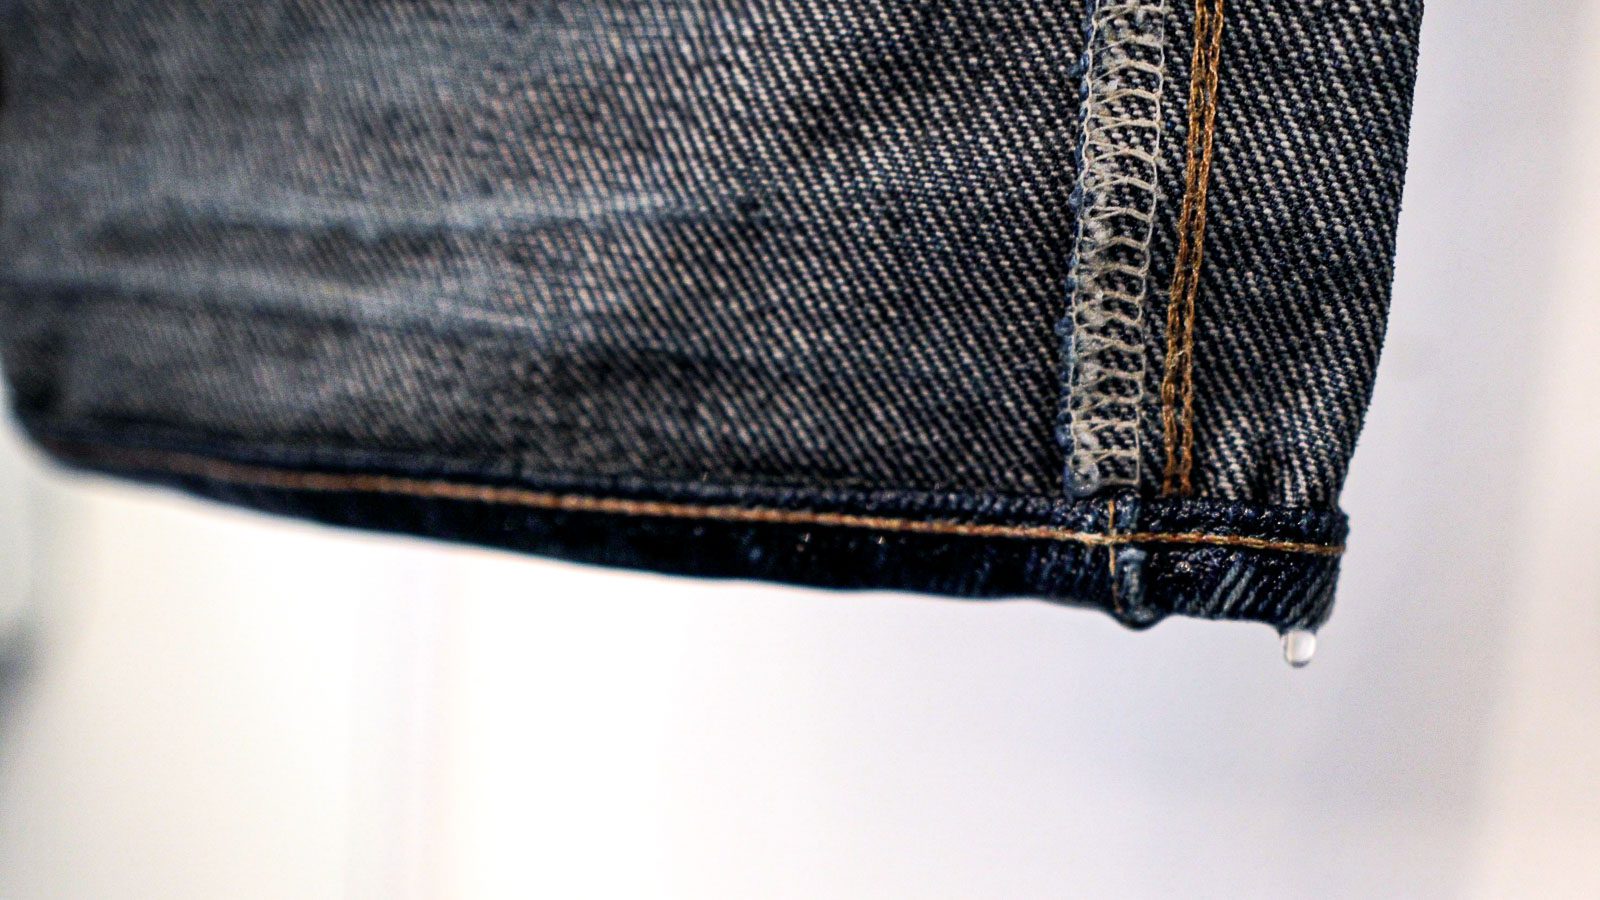
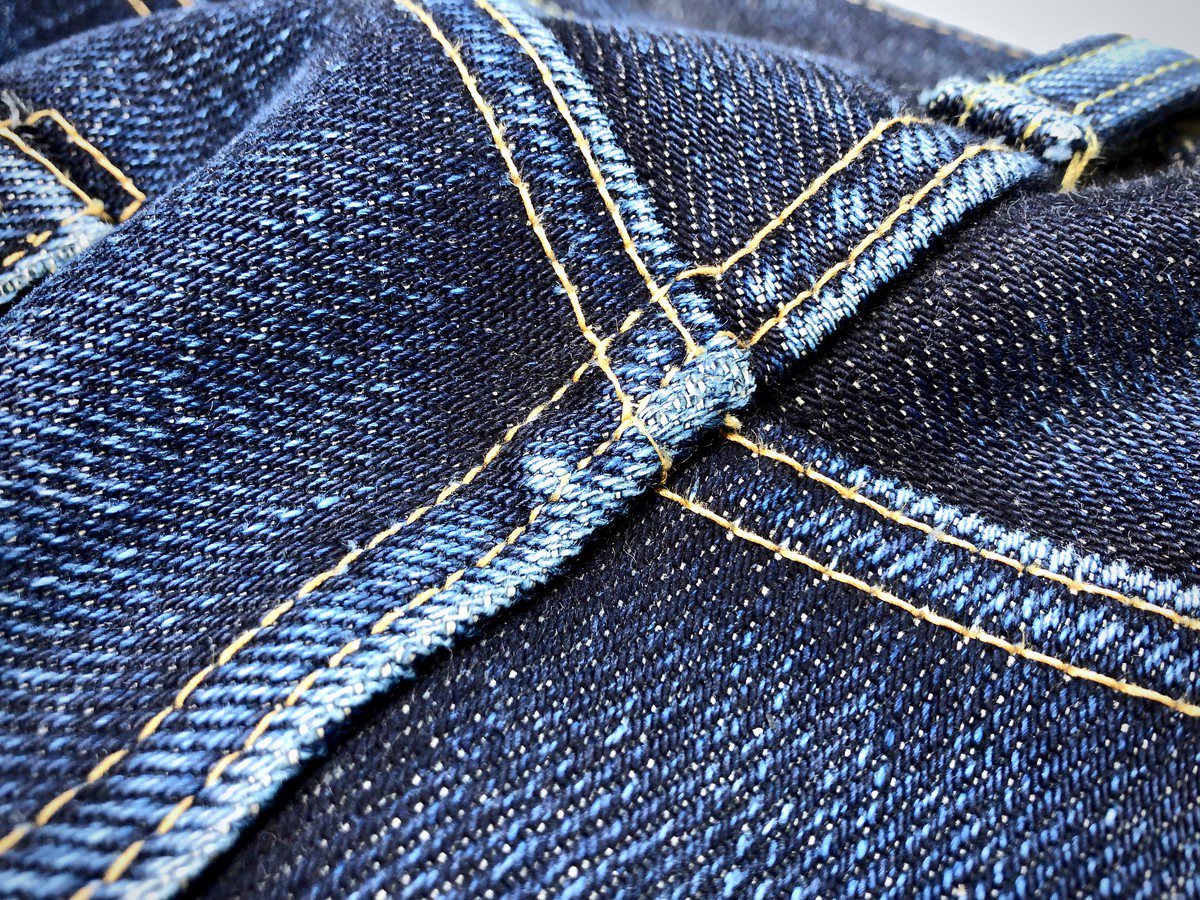
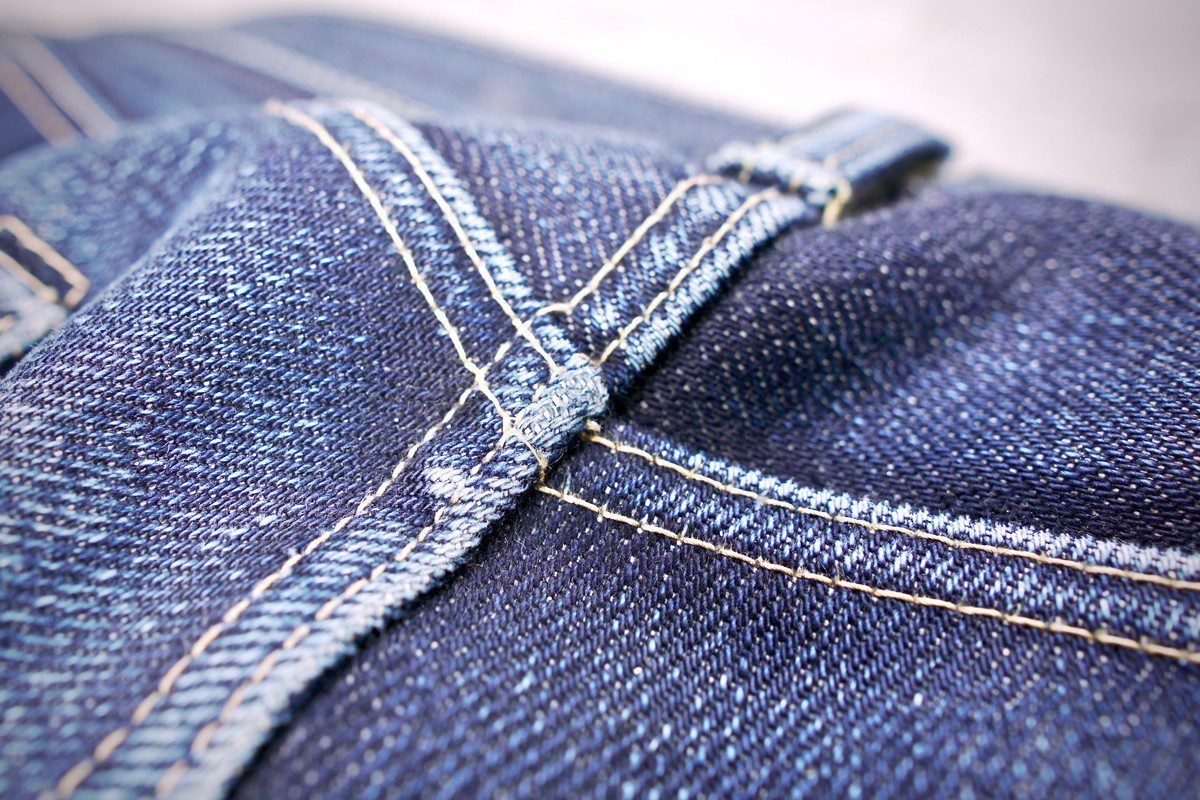
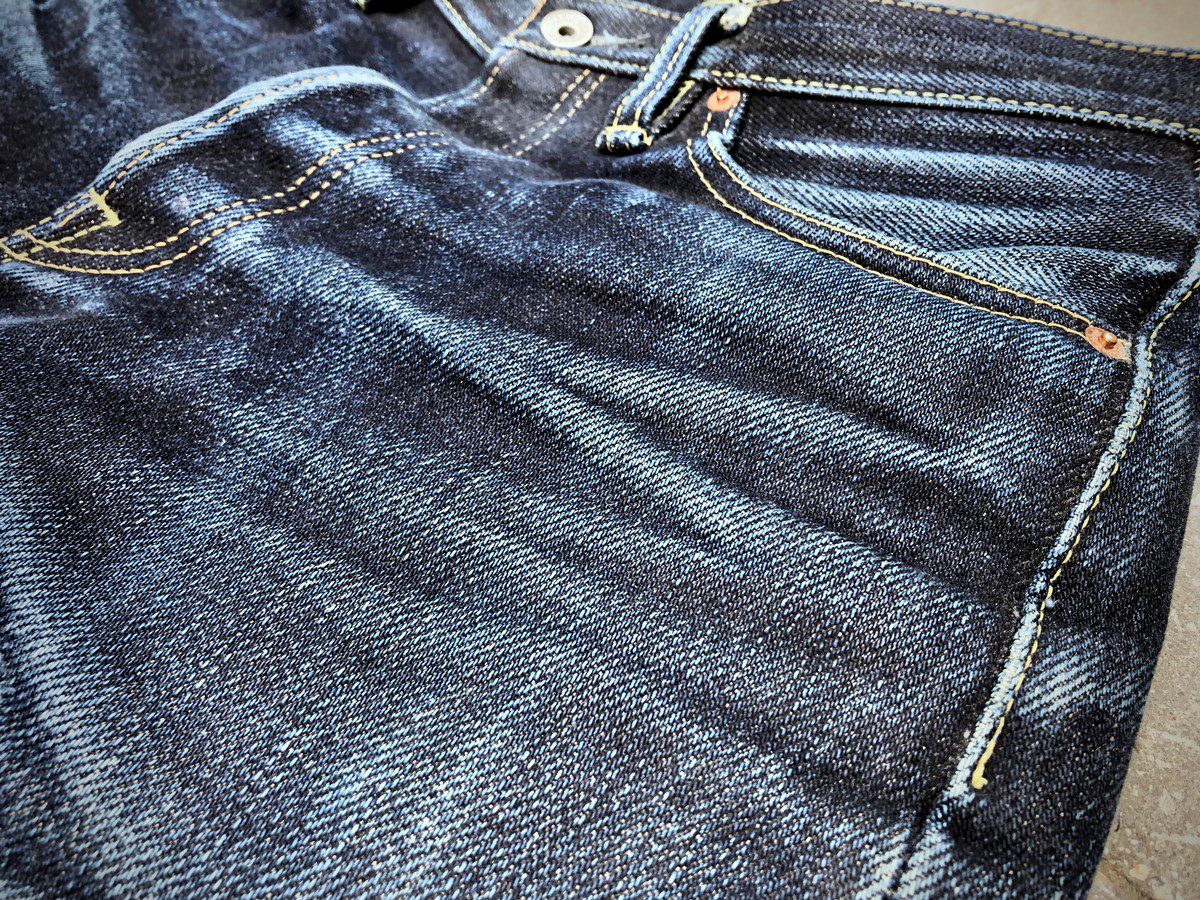
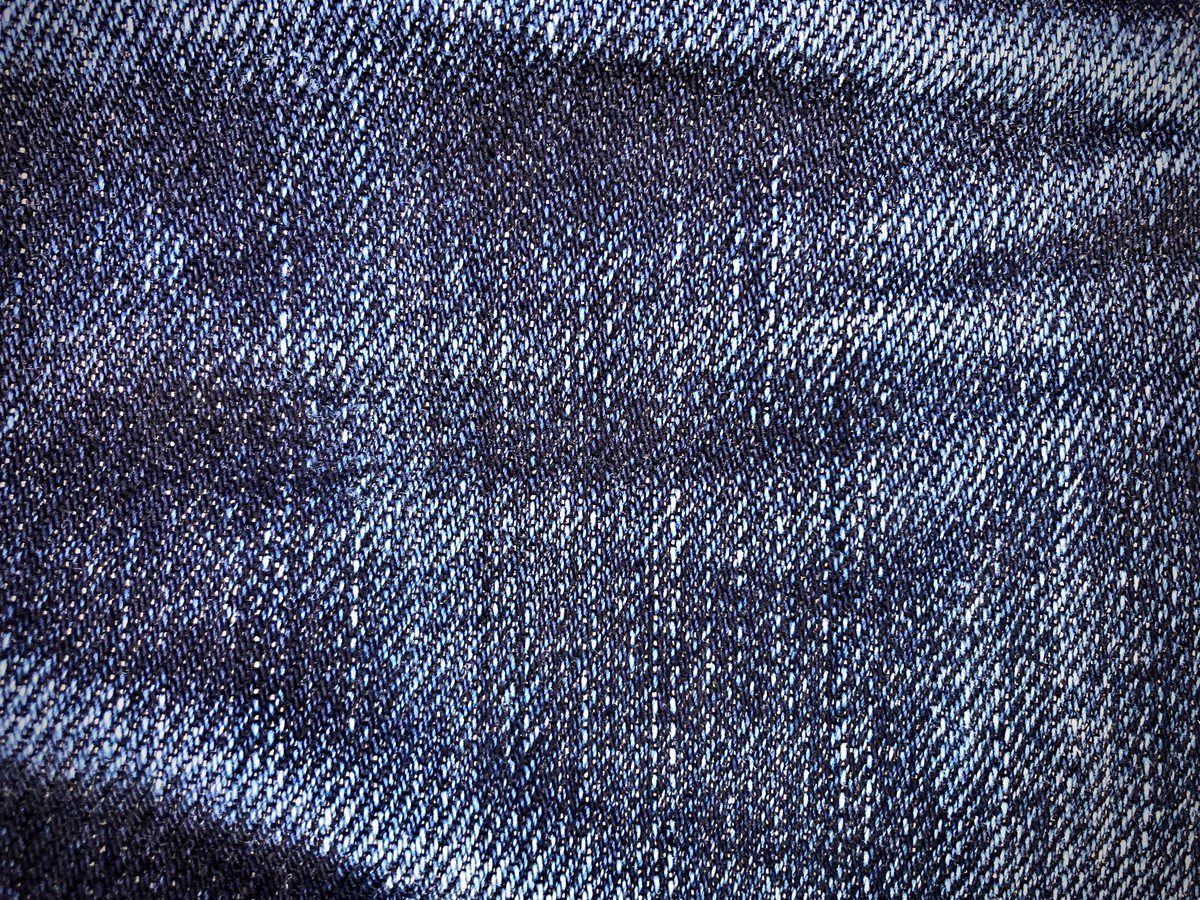
The main advantage of a ‘real’ camera is that you have many more options to control aperture, shutter speed, depth of field, and more. See the example below. The picture on the left is shot with an iPhone 8, the one on the right is shot with a Sony a6500 and a Sigma 16mm f/1.4 lens.
But in the camera app on your smartphone, you’re also able to control the focus and lighting with a few tabs. More on that later.

Aperture is the opening in a lens that light passes through. A large aperture lets a lot of light in. A small aperture lets less light in. It’s like the iris of your eye; in bright environments it’s smaller to let less light in, while it’s bigger in dark environments to let more light in.
Shutter speed is the length of time a camera shutter is open to let light in onto the camera’s sensor. Essentially, it’s how long your camera spends taking the photo. Generally, the faster the shutter speed, the sharper the picture will be. But because the shutter is open for less time, it’ll also let less light in, which makes the picture darker.
Depth of field (also referred to as ‘bokeh’) is the holy grail of great photography, including photography of jeans. It’s that thing where the background and/or foreground of the picture is blurry. On camera lenses, this is f/X.X number, also called f-stop. In a shallow depth of field (for example f/2.8), only the thing you focus on is in focus. While on a large depth of field, say f/16, more or less everything is in focus.
Thanks to Photography Life for explaining the concepts.
Step 2: Find the Right Lighting Conditions = Outside and NOT in Direct Sunlight
Lighting conditions are super important when you’re taking photos of jeans. (Actually, lighting is important to any photo you take.)
You want to shoot in plenty of light. If you don’t have access to a studio with softboxes and fancy gear (which I guess most of us don’t), there’s a free source of light that we all have access to. The sun.
Daylight gives you the best and most natural results.

Dos and don’ts for lighting
DO #1: In daylight, lay your jeans out flat on a uniform, neutral backgrounds such as concrete, tiles, sand or even wood
DON’T #1: Avoid sharp low sun settings and shady areas. Slightly misty weather gives a perfect light for outdoor photography. Even light is essential.
DO #2: Let the jeans face the sun; the waistband should point towards the source of light, which gives the natural visual impression that the jeans are ‘hanging’ the right way.
DO #3: Stand on a chair, ladder or similar to take the overall pictures from directly above. You can shoot from angles with close-ups.
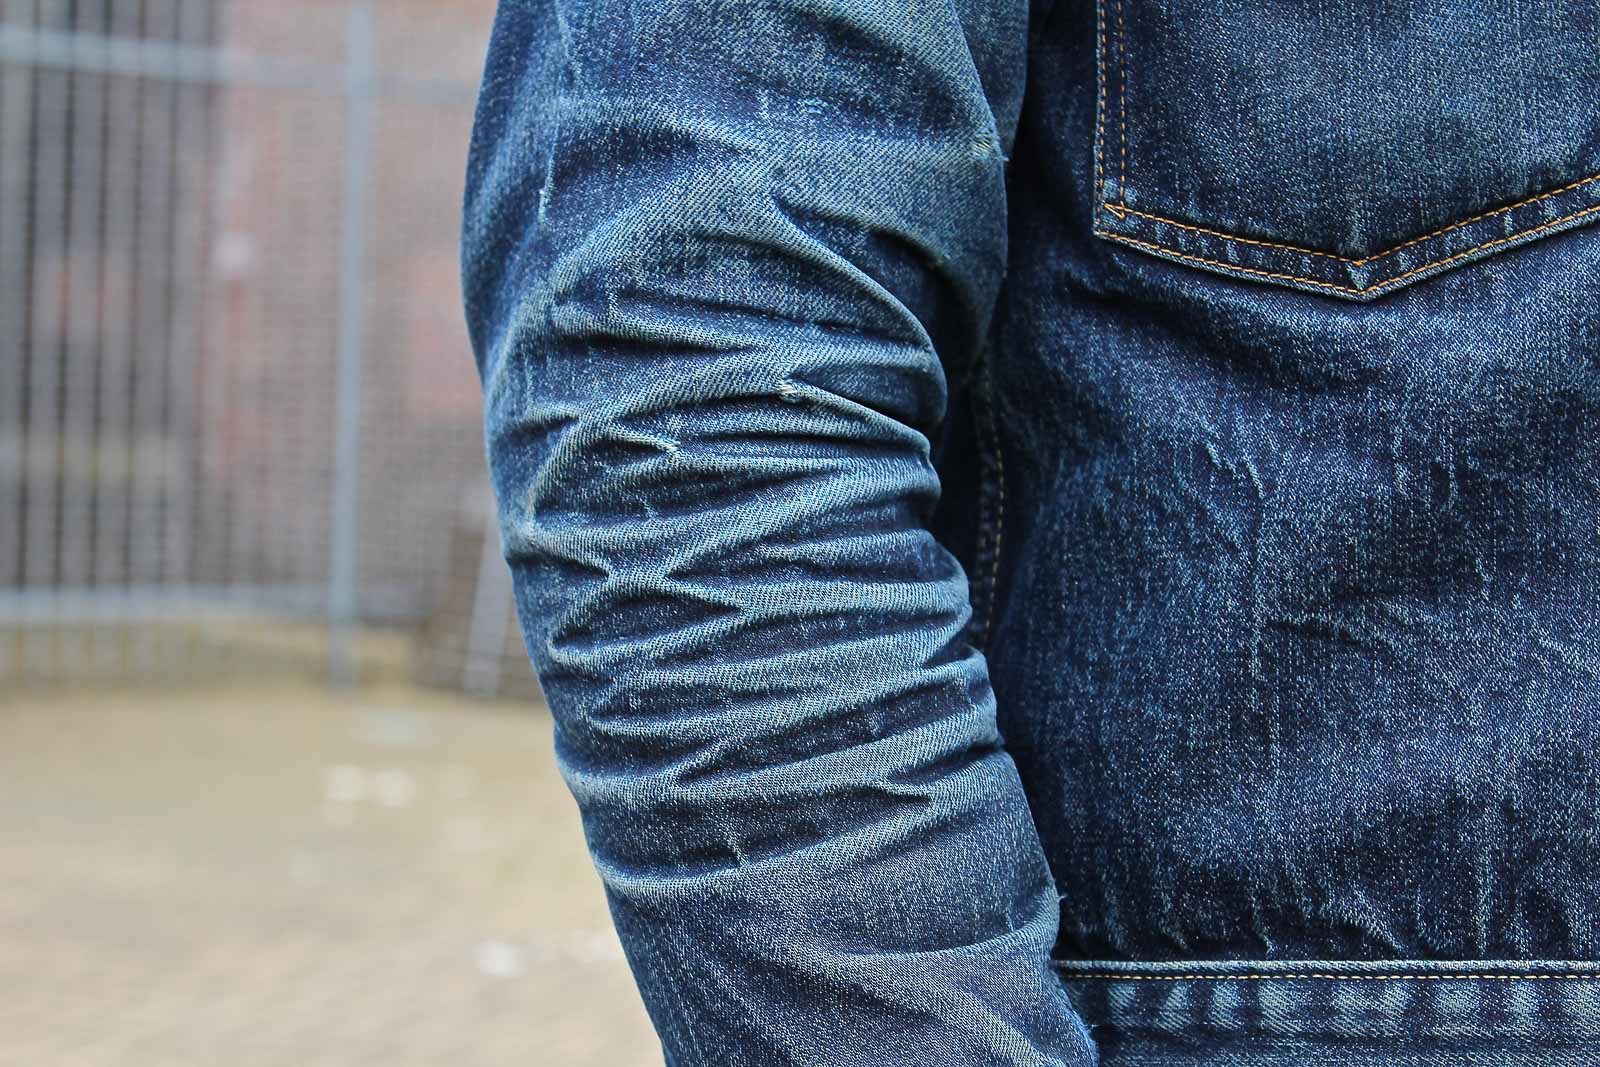
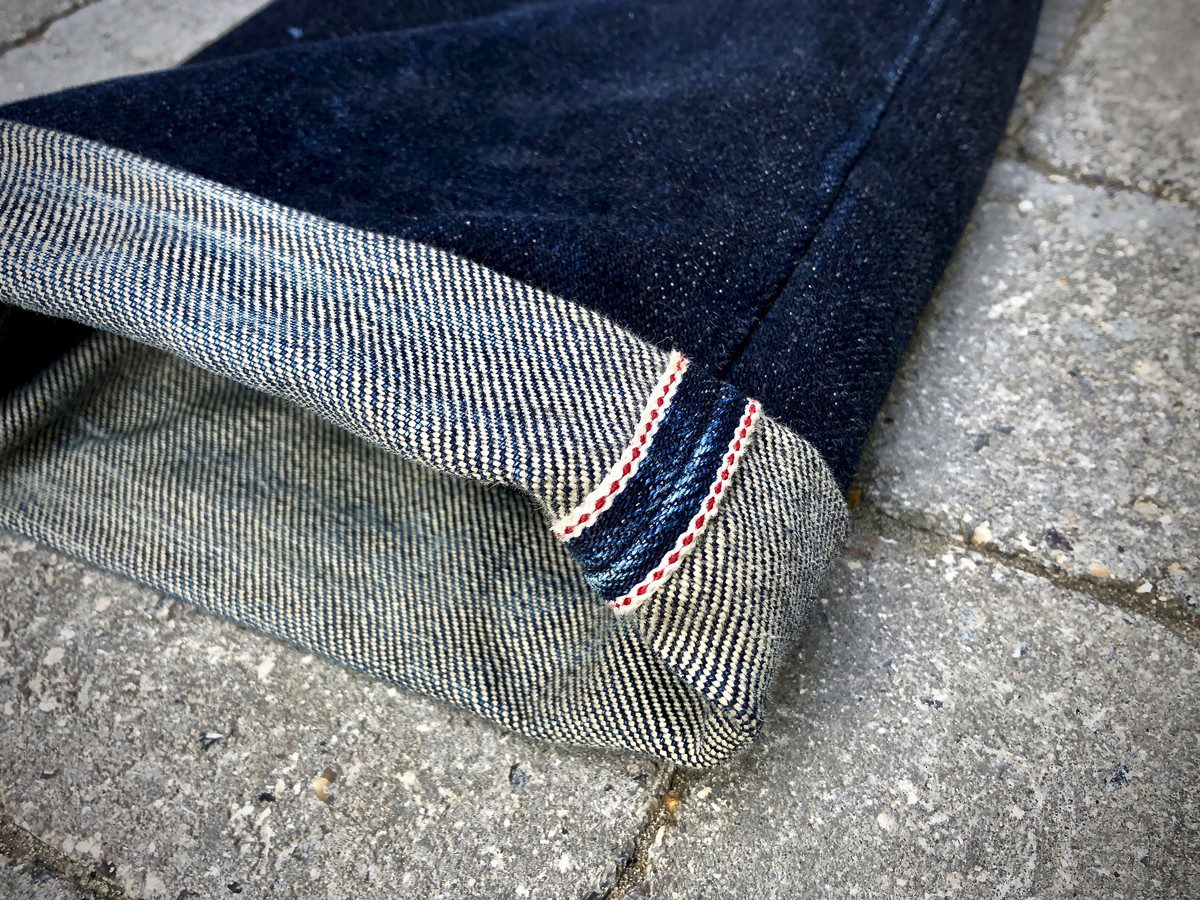
DO #4: Remember close-ups of details such as buttons, pockets, selvedge edges, patches, rivets, and repairs.
DO #5: Shoot plenty of pictures. Concentrate on correct exposure – the more you get right when you shoot, the less time you will spend in editing. (But if you’re shooting on your phone, it’ll do most of the work for you.)
Tip: Consider removing your belt, chains, keyrings, etc. to let the viewer focus on your jeans and fades.
Step 3: Retouch with Subtle Editing
The third step is editing. After the lighting conditions that you shoot in, this is the second most important aspect of good denim photography.
Your goal is to get the most natural and realistic captions of the colours rather than completely exaggerated postcard-like colours.
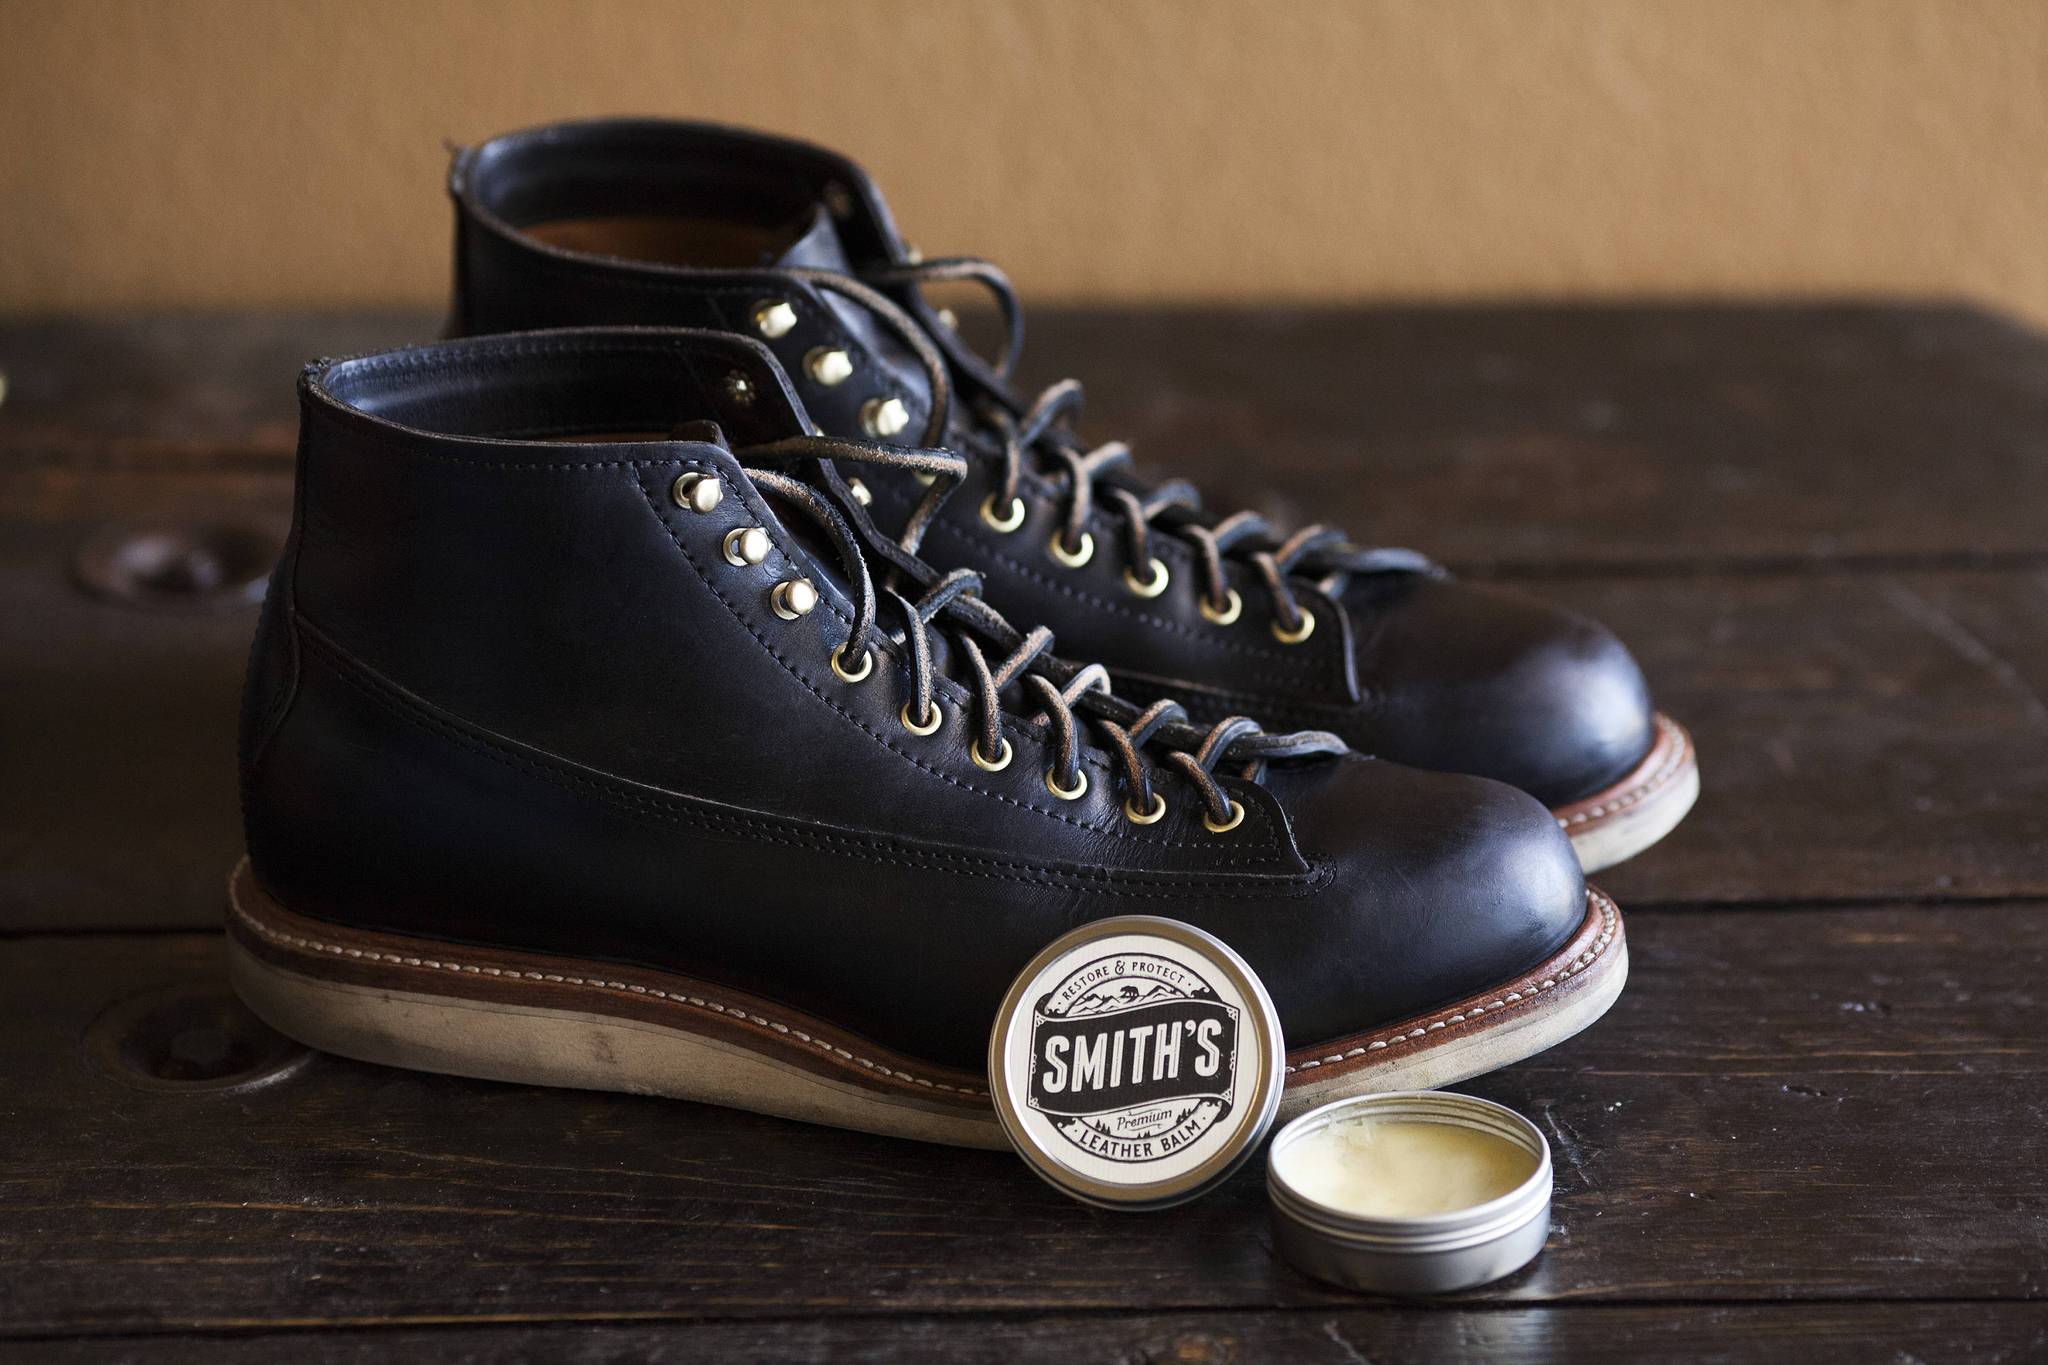
The leather label is usually a good indicator for adjustments. If it looks too yellow or too blue, something is wrong.
Once you’ve edited the picture of the leather label compare it to the colours of the other pictures to match it.
Basic photo editing:
Adjust for exposure, white balance and highlights, and add an appropriate amount of contrast and clarity.
To avoid the electric blue colour denim sometimes gets, turn down the saturation a little.
You can also add a little post-crop vignetting effect to give the denim more focus, but for God’s sake don’t overdo it!
And that’s it. Now, get off your device and go out there to photograph your jeans!
On the Hunt For Raw Selvedge Jeans?
Launched in 2011 by Thomas Stege Bojer as one of the first denim blogs, Denimhunters has become a trusted source of denim knowledge and buying guidance for readers around the world.
Our buying guides help you build a timeless and adaptable wardrobe of carefully crafted items that are made to last. Start your hunt here!
Share