Learn About the Cutting and Sewing Steps of Making Jeans (… and the Discussion of 3 Key Aspects)
The clothing industry will probably be one of the last to see robots replace humans. Although there is some automation in garment manufacturing, robots still can’t sew clothes from start to finish.
That’s why jeans makers still rely on good ol’ hand-eye coordination, which means people of flesh and blood. It doesn’t matter how (in)expensive a pair of jeans are; they’re all made by hand. Whether you pay $20 or $200 (or more) for a pair of jeans, someone somewhere in the world has cut and sewn them.
Looking for the Biggest Bang for Your Buck?
Great selvedge isn’t necessarily expensive. If you’re looking for big value for your money, your safest bets are: TCB 60s Regular Straight (€180), Japan Blue J301 ($185), and Sugar Cane 2009 ($195).
Often it’s the more tangible features of jeans that make us perceive them as valuable. The denim fabric, the design, the brand, or the pre-distressed look. But even for the finest fabric, the coolest design, the hippest brand or the most badass wash, it all depends on the quality of the cutting and sewing.
With the ever-growing demand for jeans, the making of them has long been converted into assembly line production, with workers dedicated to a single task to maximise productivity. Nevertheless, the quality of the cutting and sewing still depends on the skills of the sewer.
In this second episode in the series about how jeans are made, I’m looking at the construction of jeans; how they’re sewn, what techniques are used, and which machines. I would argue that this step in the process of making jeans is the least valued, the most underestimated.
The three parts in the series about how jeans are made are:
- Design and development
- Cut and sew (this post)
- Garment finishing
Design Informs Construction
In the previous episode of this series, you learned how designers design jeans, and how the design influences the way your jeans look, feel and fade. Paul Kruize sums it up:
Design is the starting point, and the point to return to to check if you’re still on the right track. You need to consider and determine all the aspects that go into making the jeans.”
A very important aspect that’s determined by the design is the construction. That is how the jeans are cut and sewn. But before we get to that, let’s look at the components you need to make a pair of jeans:
- For wide-loom denim, you need around 1.6 metres of fabric. For selvedge denim, that number is around 2.5 metres (3-3.5 metres if you also use selvedge for the fly and waistband).
- You also need several hundred metres of thread in various thicknesses and colour, depending on the design.
- You need six rivets for most contemporary designs, ten if the jeans have hidden rivets, eleven if they’ve also got one at the base of the fly.
- You need at least one button, and four or five if they’ve got a button fly—if not, you need a zipper.
- Lining material for the front pockets.
- Add to that a handful of labels, and you’re ready to go.
That’s the list of ingredients sorted. Now let’s dive deeper into some of the key cutting and sewing steps you need to turn it all into a pair of jeans.
Hand-Picked Must-Haves and Essentials
Sorry to interrupt your reading but we’ve found these products that we really think you should take a closer look at!
Support us when you shop: We earn a small commission when you buy from these merchants.
Before Cutting Can Begin
Before you even make the first cut, you need to have the factory check the fabric, explains denim designer, Christina Agtzidou.
First, the fabric is checked for defects. Then, pieces are cut off each roll, which are then stitched together and washed to see the different shades. This is called a ‘blanket.’ The factory marks the different lots within the fabric shipment.
After marking the rolls, factories often create “families” with the closest matching shades to prepare their cutting tables accordingly. Each family will be cut, sewn and washed separately. Laundries will adjust their recipes while washing to ensure the entire production run ends up looking the same.
You also need to check the shrinkage of each roll before you start cutting. Patternmakers must know how each roll shrinks to adjust the pattern. Shrinkage tests are usually done by cutting a 1×1 metre square of fabric and overlocking the edges. It’s then washed at the same temperature that will be used at the laundry to check the post-wash measurements.
After testing, the patternmaker prepares the pattern for the particular fabric to waste as little fabric as possible. She uses a computer to calculate the optimal fabric consumption by puzzling out all the pieces of the pattern. This is a case where size matter.
The longer the cutting table is, the more fabric you save,” says Christina.
The seasoned denim designer also advises that it’s best to place all the parts of a garment in the same direction to avoid twisted legs or different washing results. This is especially crucial for stretch fabrics.
Best Places to Buy Well-Made Menswear
Whether you’re looking for a pair of selvedge jeans, a denim jacket, a loopwheeled T-shirt, or anything that is made slowly and purposefully, start your search with these brands and retailers:
Support us when you shop: We earn a small commission when you buy from these merchants.
Cutting the Fabric
Once the fabric is ready to be cut, a print-out of the pattern is plotted on paper and laid out on top of the fabric on the cutting table. In large-scale production, as many as 100 layers of denim are stacked and held down with weights while they’re cut using a special textile saw.
It’s a crucial step. Even the best patterns won’t matter if they’re not cut perfectly. And it’s difficult. The denim needs to be marked correctly, and then cut properly; otherwise the cuts will not sew together how they’re supposed to.
An ordinary pair of blue jeans requires roughly 20 separate pieces, but it all depends on the design. Once cut, each piece is marked and bundled by size. Next, the assembly can begin.
The Four Stages of Sewing
Sewing is usually broken up into four overall stages:
- Prep work
- Sewing the front
- Sewing the back
- … and lastly assembling the jeans
The process varies depending on production setup and scale, and the finer details of how to do all of these steps exceed the scope of this article. Regardless of the actual order, the following procedures need to be done:
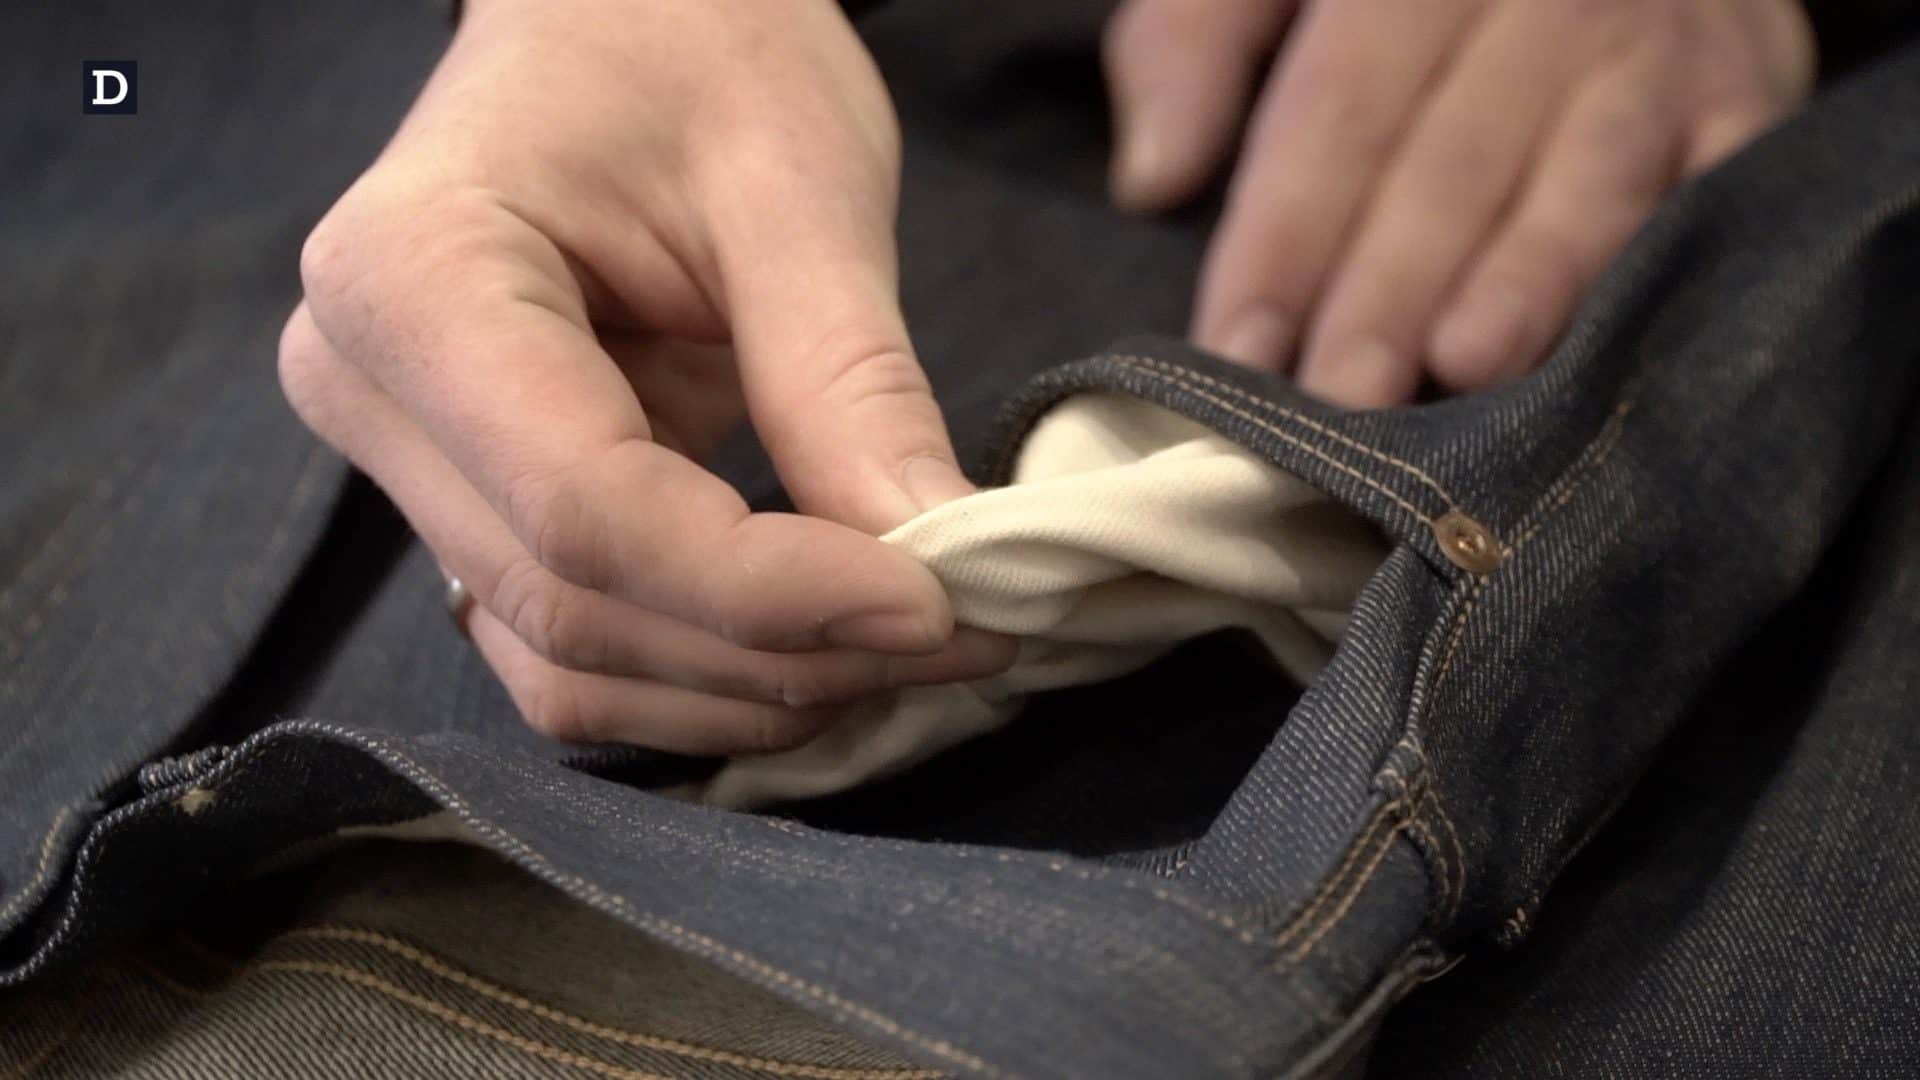
The first step is to do some prep work. The belt loops need to be made, the pocket facings need to be sewn onto the pocket bags, and the button and button-hole strip need to be made.
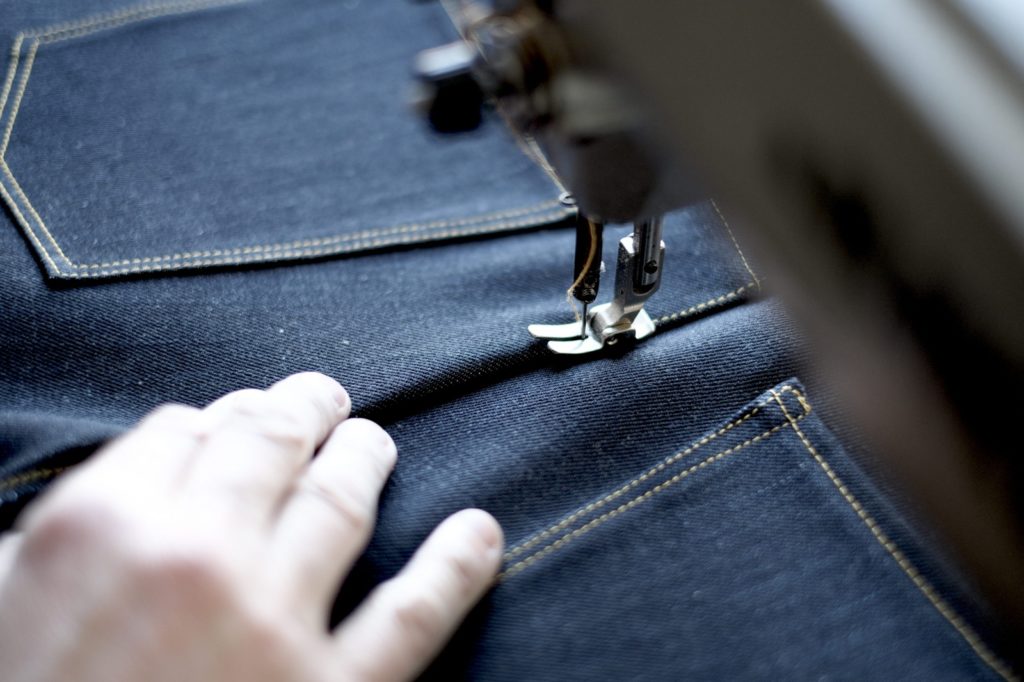
Once this is done, the front can be sewn, including the front pockets, the fly and the front rise.
Thirdly, for the back of the jeans, you need to sew the yoke, then attach the back pockets, and then the back rise.
The final stage is sewing the front and back together. You start with the inseam, followed by the outseam, then the belt loops, the waistband and the very last step is adding the trim.
3 of the Most Debated Aspects of Sewing Jeans
At this point, it’s worth mentioning that not all steps and seams are created equal. So let’s look closer at some of the most celebrated and discussed ones, including the leg seams, the hem seams and the type of thread.
Leg Seams
Some of the hardest seams to sew are the out- and inseams of the leg. They need to be completely straight, and that takes practice to learn. Typically, the leg seams are made with either busted seams, overlocked and top-stitched seams, or flat-felled seams.
Busted seams are usually used for the outseams. They’re made by stitching the fabric ‘right-sides’ together. For indigo-dyed denim, the ‘right’ side is the blue side. Then, the two seam allowances—which are the bits of fabric from the edge to the seam—are split by ironing. For shuttle loom denim, this is where you’ll have the selvedge edges. For wide-loom denim, the edges need overlocking to prevent them from fraying.
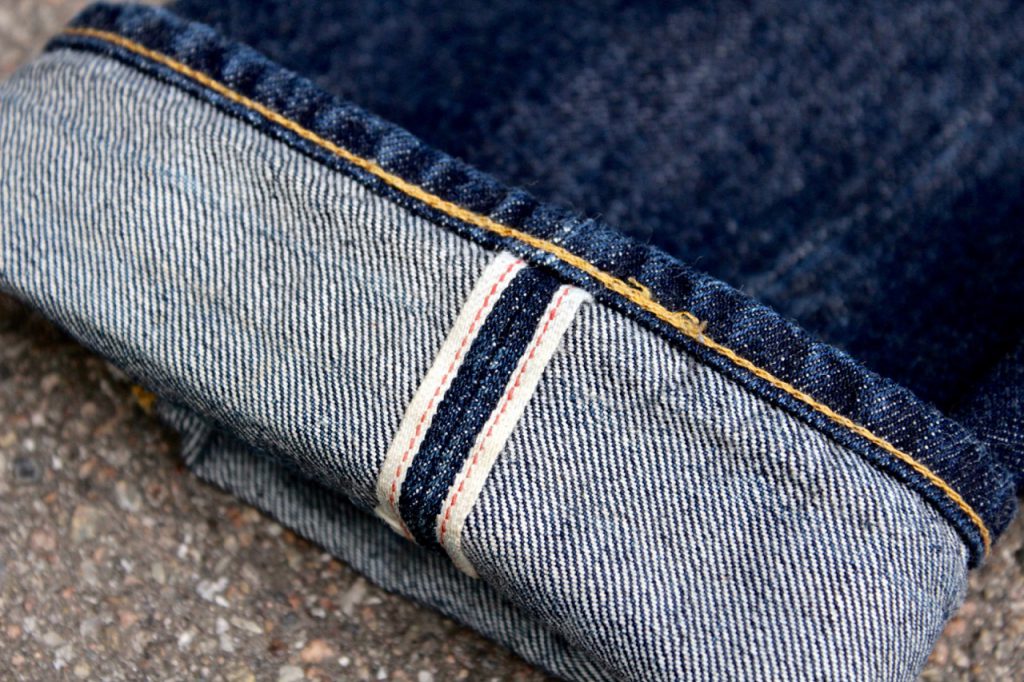
Busted outseams are considered the traditional way of doing things. It’s how outseams have been made since forever. The problem with the busted outseam is that it tears easier because they’re typically secured only with one row of stitching.
Overlocked top-stitched seams are stronger—they’re the kind usually used for inseams. Like the outseams, they’re stitched right-sides together. But because there’re no selvedge edges, the raw edges are stitched together using overlocking. Next, the seam allowance is folded and top-stitched. This gives a single seam on the outside of the inseam. But there’s an even more durable way to stitch the leg seams; flat-felling.
Flat-felled seams are made by stitching the fabric wrong-sides together with different seam allowances. The shorter seam allowance is encased in the longer one, and then it’s top-stitched.
I prefer flat-felled seams and have always considered them superior,” says Paul Kruize. “This seam also gives the cleanest look; it’s completely closed and needs no overlocking.”
While all three ways of stitching are used on jeans, busted outseams and overlocked top-stitched inseams are the most authentic ones.
Some enthusiasts and sales reps speculate that flat-felling is cheaper, arguing it’s one of the reasons Levi’s used them when they introduced the more price-competitive orange tab line. Paul Kruize and Lennaert Nijgh argue that’s unlikely.
I don’t believe flat-felling is cheaper. It may be a matter of what sewing machines a particular factory has, making it cheapest to use the technique that’s available,” Paul reasons.
Lennaert elaborates:
An overlocked seam is a bit easier to sew, if you have the proper machinery, and saves you 0.5 cm of fabric. But in terms of production costs, I don’t think the two differ very much. Like Paul said, it also depends on the factory setup.”
From an aesthetic standpoint, though, some designers and makers may prefer flat-felling when the denim isn’t selvedge, as the method hides the edges of the fabric. But that’s just my own speculation. Another process of how jeans are sewn that’s gotten an explosive amount of attention of the past decade is the hem.
Selvedge Masterlist Top Three Jeans
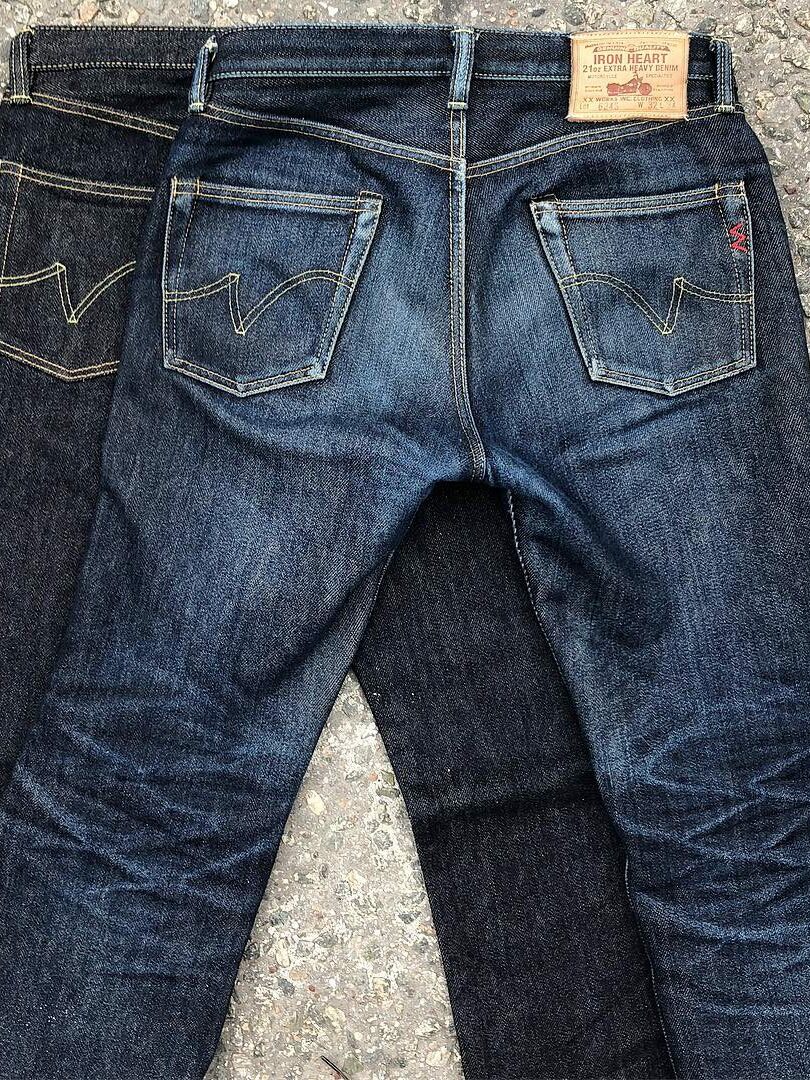
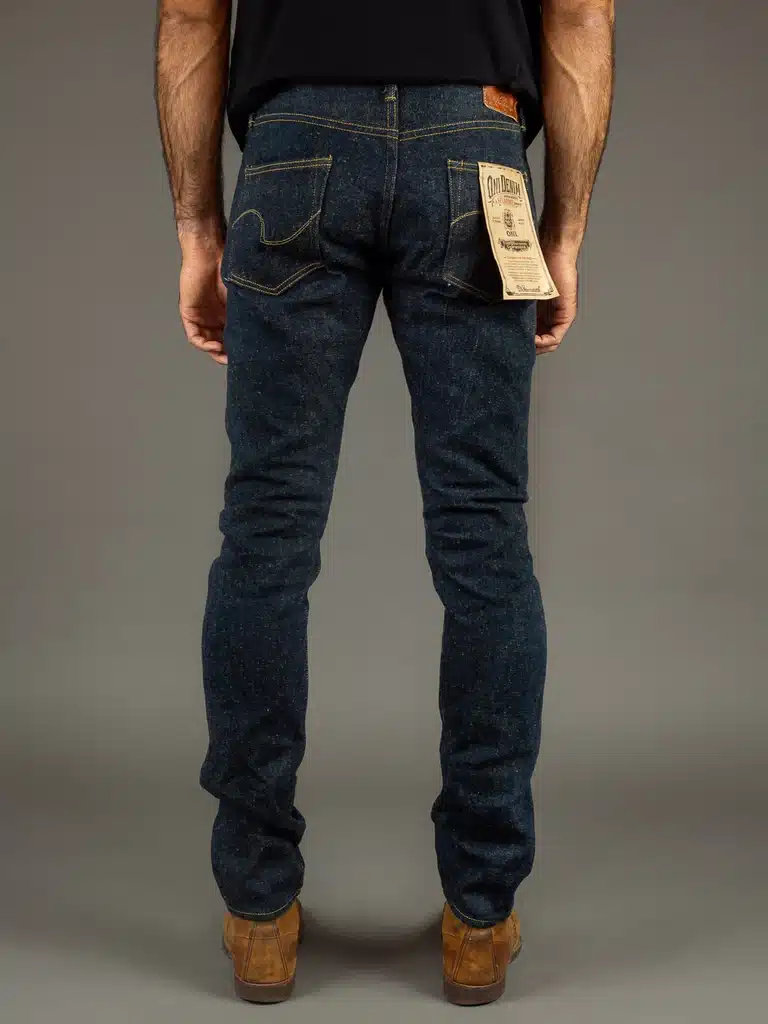
The list of our favourite Japanese selvedge jeans is long, but at the very top of it, you’ll find: Iron Heart 634S, Samurai S710XX, and ONI 622ZR.
Lock Stitch vs. Chain Stitch
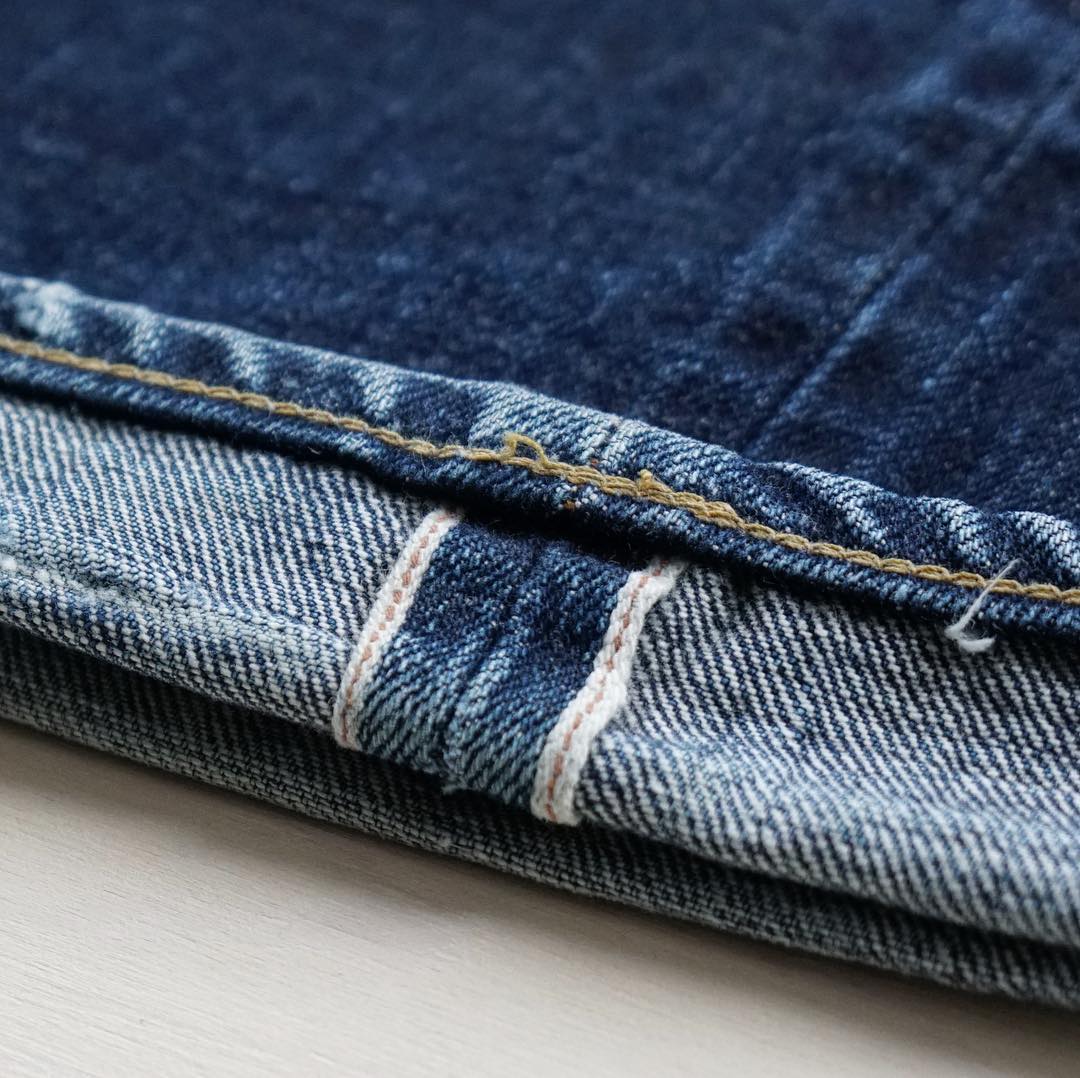
If there’s one thing that can get enthusiasts going, it’s the age-old debate of whether hems should be lock-stitched or chain-stitched. Lock stitching is arguably the most durable by a small margin, while chain-stitching gives the most authentic fades.
When the vintage denim scene was still in its early days, collectors relied on chain-stitched hems to identify the age of jeans, just like they did with the selvedge edges.
The most prized chain stitch of all is the one made on a Union Special 43200G. Introduced in 1939, this sewing machine was purpose made for sewing hems. Union Special stopped making the 43200G exactly 50 years later, in 1989.
But it’s not (only) the fact that the machines are now old that gets denimheads jazzed up; it’s what’s known as roping where the seam ropes around itself and creates diagonal abraded lines as the denim is worn and washed.
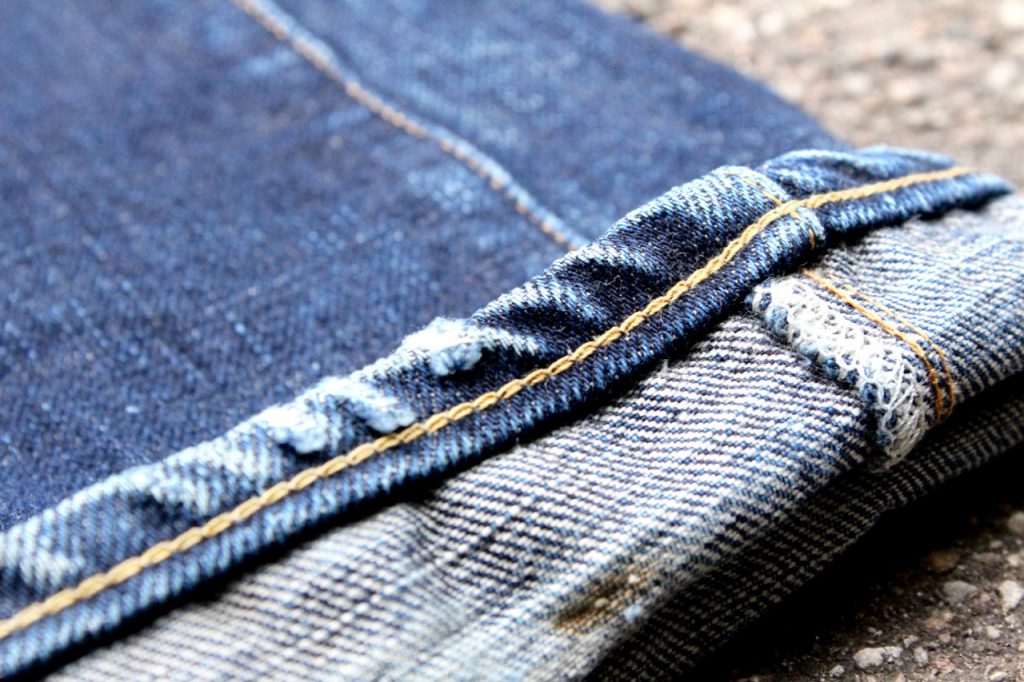
This unique fade is caused by the machine’s characteristic feed differential. It happens as the folder rolls the fabric together and the feed dogs move the bottom layer of fabric while the top layer is wedged between the presser foot and the folder. This creates a slight skew, which creates puckering once the denim is washed and shrinks.
The problem is that—until the jeans are washed, and the stitch has set—it unravels more easily than a lock stitch. In fact, this is allegedly one of the reasons in was introduced in the first place: to make it easier for sewers to undo the seam if they made a mistake.
The lack of durability was considered a defect, and chain-stitched hems were phased out in the 1970s and ‘80s. These days, chain-stitched hems are back! They’re seen as a must-have feature on quality and authentic jeans. Even mass-volume brands use chain stitching, although the modern machines they use often don’t create very pronounced roping.
It’s the folder that causes the roping effect, because it add that skew,” Lennaert Nijgh argues. “So putting a folder on top of a modern day chain stitch machine should do the same trick.”
But just because there’s a chain stitch, you cannot be sure it’ll rope. Union Special’s 43200G isn’t produced anymore. Makers of new chain stitch machines have made improvements that prevent roping—all with good intentions. New chain stitch machines don’t come standard with a folder. The machines are also used for other tasks where a folder isn’t needed, such as sewing the waistband.
The problem, it seems, is that on some newer machines, the width of the seam is off. Either there’s too much or too little, and that affects the roping too.
The width is caused by the folder,” Lennaert tells me. “I’m not sure if the transport of the Union Special is different than that of other chain stitch machines. If so, this could also cause a difference.”
What also contributes to roping is the shrinkage of the fabric. On unsanforized denim, you get a lot more roping. “Since most brands that use unsanforized denim use a Union Special, maybe that’s what creates the assumption that this chain stitch ropes more,” Lennaert speculates.
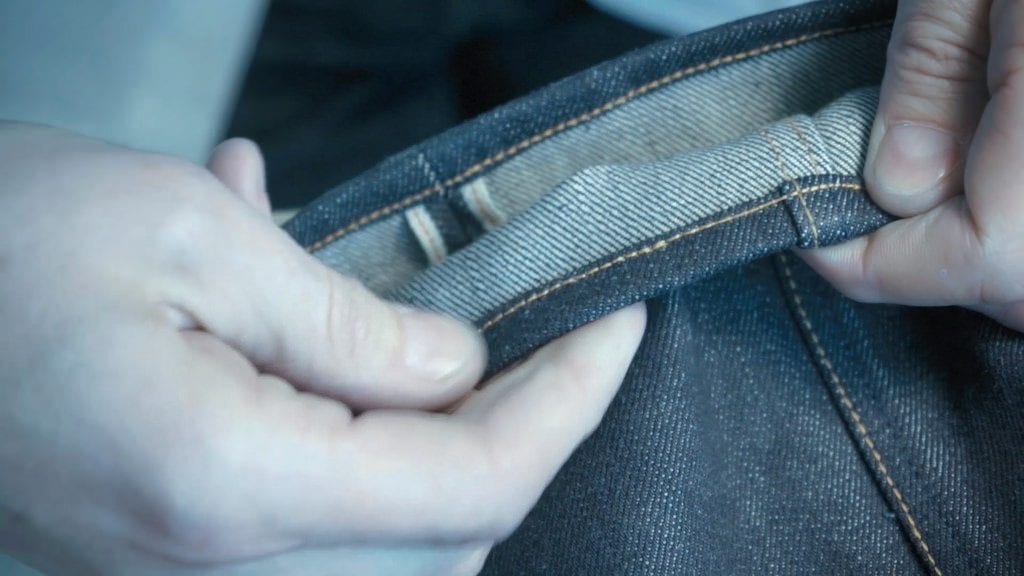
An avid advocate of lock stitching, Paul Kruize says that it’s also possible to achieve roping with a lock stitch sewing machine.
By skewing the layers of the hem while sewing, you can get roping using a single transport lock stitch machine. It’s the same principle of feed differential, which is caused by the static presser foot, and the feed dogs. And the top layer of fabric will always tend to stretch a bit while sewing compared to the lower fabric.
Niels Mulder was one of the first graduates from the Jean School in Amsterdam. During one of his internships, he learned that chain stitch machines, including the Union Special 43200G, were mainly developed for the unique way they use the yarn spools. Not only for the look or to undo a mistake but also for efficiency.
In a regular sewing machine, you have two spools of thread. One spool on top and one in a bobbin below. When the machine sews, the two threads make the stitch. With a chain stitch machine, you only use one spool,” the young denim designer explains.
This means there’s no bobbin thread that empties. And that results in higher production speed as you don’t need to check if there’s enough bobbin thread every time you have to sew.
As I said, denimheads like myself can talk about chain stitching until we’re blue in the face. Let’s look at the third and final aspect of the sewing process that this episode covers.
Type of Thread
Another thing to consider is the type of thread, specifically the difference between cotton and polyester threads. Nowadays, the majority of all brands use polyester thread, because it’s superior in terms of stretch, Lennaert tells me.
The downside of polyester thread is that it’s shiny, and the colour remains roughly the same even after countless washes. Cotton thread, on the other hand, fades with the garment. But it’s also much weaker and tends to break much quicker.
The solution is the merge the two, a hybrid known as poly-cotton thread. It has a core polyester with cotton spun around it. This way, it’s got the strength of polyester and the fading properties of a 100% cotton thread.
Try Making Jeans At Home?
Anyone who’s ever tried making a pair of jeans themselves knows it’s not easy! Although you can make jeans at home with the most basic sewing kit, making them professionally requires several special sewing machines and years of training.
Recently, there’s been a resurgence of interest in the craft of making jeans. Particularly in first world countries where garment manufacturing was outsourced decades ago, aspiring denim craftsmen (and -women) are setting up shop and making jeans themselves.
Some do it for fun, others dream of making the next big hit in denim. But they probably all discover that it isn’t easy to make good jeans, and even less so make a business out of it. Lennaert Nijgh observes:
Of course, there are a few examples of successful self-taught craftsmen, like Jens Olav from Livid Jeans, but this is really an exception. The majority of successful people in this business have years of education and/or experience working for other companies before they make it on their own.”
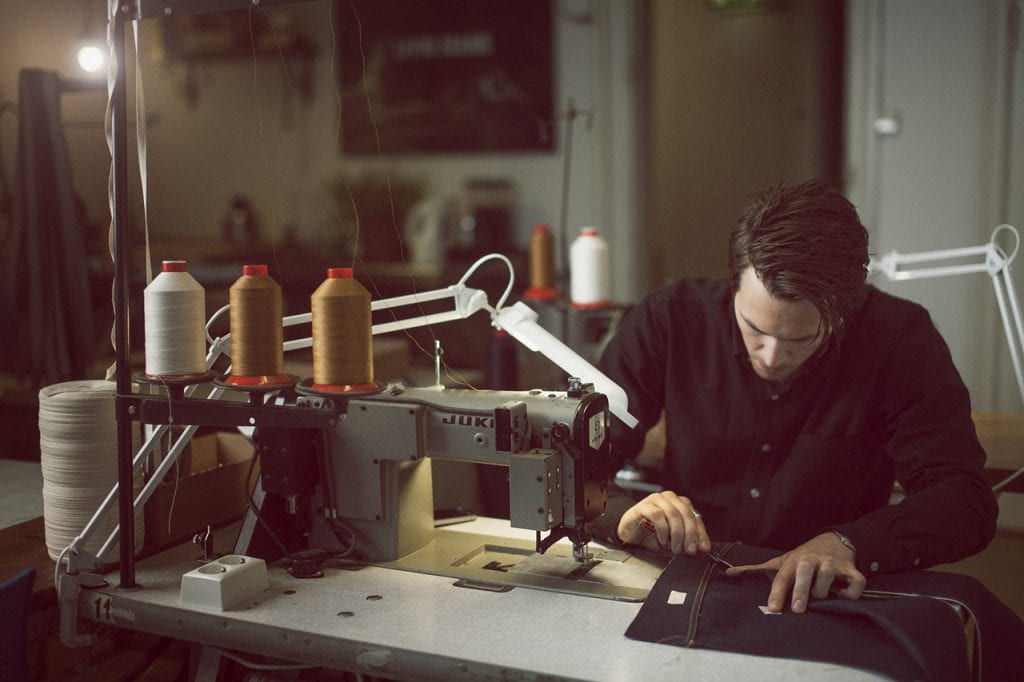
Still, many of denim’s new craftsmen don’t have any formal training in textile production. They’re denim devotees who are driven by passion and because they think it’s fun. In Christina Agtzidou’s experience, passion is important but not everything.
In this business, you learn from your passion and through a lot of work and some mistakes,” she says. “The most successful people start from zero and learn this job by doing, but education is important and necessary up to a certain level.”
On the Hunt For Raw Selvedge Jeans?
Launched in 2011 by Thomas Stege Bojer as one of the first denim blogs, Denimhunters has become a trusted source of denim knowledge and buying guidance for readers around the world.
Our buying guides help you build a timeless and adaptable wardrobe of carefully crafted items that are made to last. Start your hunt here!
Share







You don’t need years of training or special equipment to make jeans. My first sewing project was a pair of jeans which I made on an 80 year old Singer 201 straight stitch sewing machine. I used a pattern from Kwik Sew which I modified based on a pair of old jeans which I took apart.
The instructions on the pattern were not great but there are plenty of youtube videos out there which can walk you through all the steps.